Cozy up this winter with a super bulky knit hat, a project so easy even beginners can conquer! Forget fiddly stitches and complicated patterns; this tutorial will guide you through creating a wonderfully warm and stylish hat using only the simplest knitting techniques. Imagine the satisfaction of crafting a beautiful, chunky accessory with your own two hands, perfect for gifting or keeping yourself snug on those chilly days. The oversized texture adds a modern touch, making this a versatile piece that complements any winter wardrobe. This project requires minimal materials and time, making it the ideal choice for knitters of all skill levels.
Ready to get started on your own super bulky knit hat? Let's dive into the step-by-step process, complete with clear instructions and helpful visuals to ensure a successful and enjoyable knitting experience. You'll be surprised at how quickly you can complete this project, and even more impressed by the beautiful, cozy result.
Preparation and Safety Guidelines
- Super bulky yarn
- 9mm or 10mm knitting needles
- Stitch markers
- Yarn needle or crochet hook
- Use appropriately sized needles for your chosen yarn weight. Using needles too small will make the knitting incredibly tight and difficult, while needles too large will result in a loose, floppy hat that doesn't hold its shape.
- Always check your gauge before starting the hat. Gauge is the number of stitches and rows per inch (or centimeter). An incorrect gauge will drastically alter the final size of your hat.
- Be mindful of your yarn's fiber content. Super bulky yarns can be stiff or scratchy, especially if made from wool. Consider a blend with softer fibers like acrylic or alpaca for better comfort.
Step-by-Step Instructions
Casting On and Joining
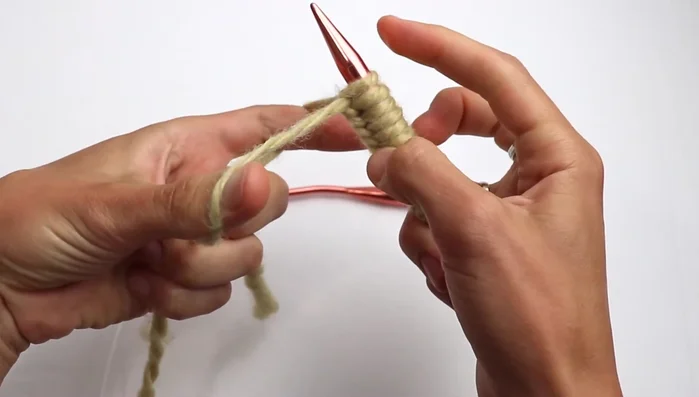
- Cast on 48 stitches (or a multiple of 4 with an even remainder). Join in the round.

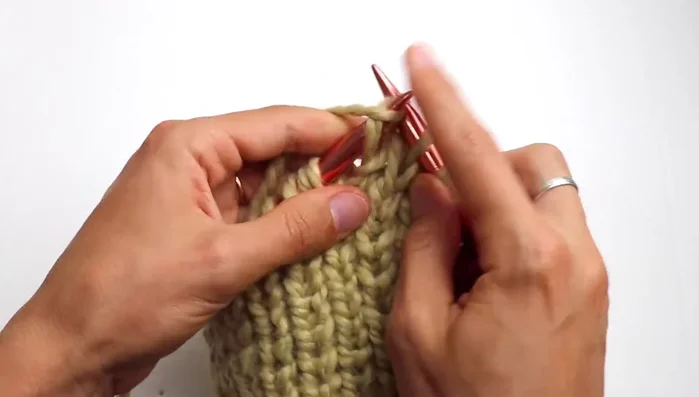
Casting On and Joining Establishing the Ribbing Pattern
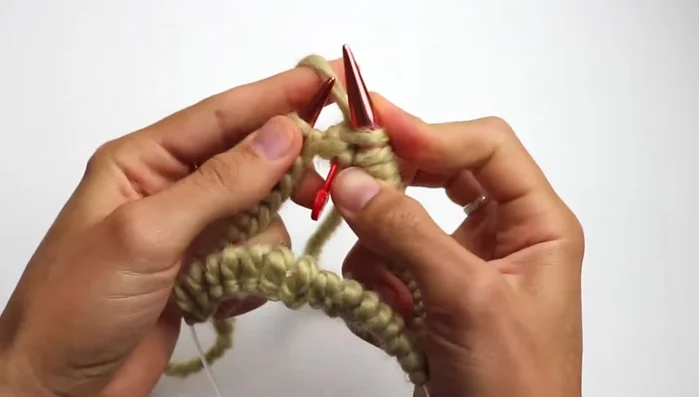
- *Purl 1, slip 1 (yarn in back)*. Repeat from * to * around.
- *Purl 1, knit 1*. Repeat from * to * around.
- Repeat Rounds 1 & 2 seven more times (total of 16 rounds).
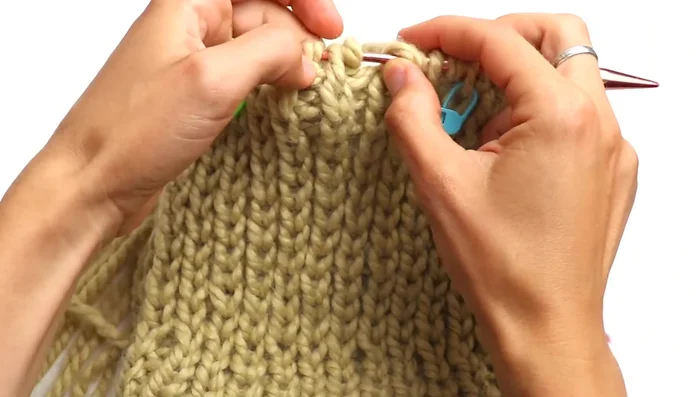
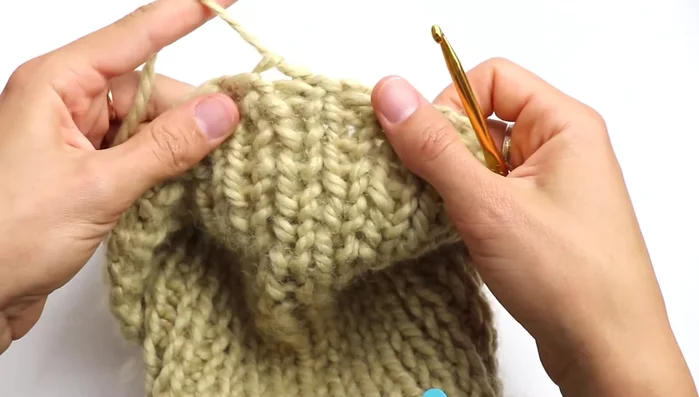
Establishing the Ribbing Pattern Turning and Beginning the Crown
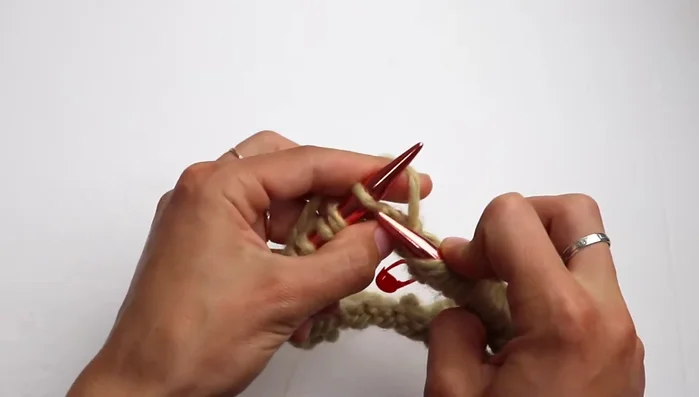
- Turn the work inside out.
- Yarn over, place a stitch marker, and begin knitting in the opposite direction.
- Repeat Round 1 (purl 1, slip 1 yarn in back) for this round. Knit two together before joining the round to avoid a large hole.
- Repeat Rounds 1 and 2 for two more rounds.
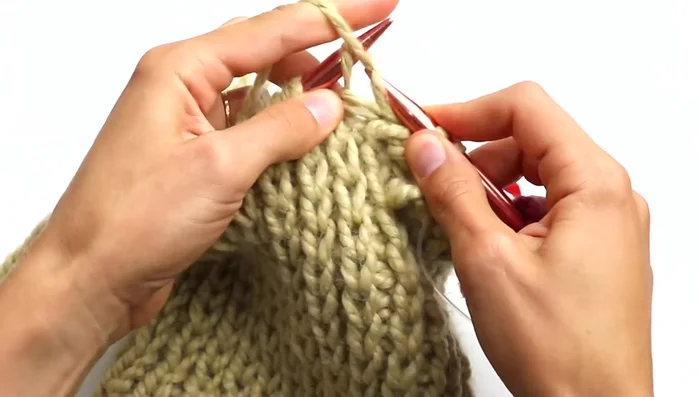
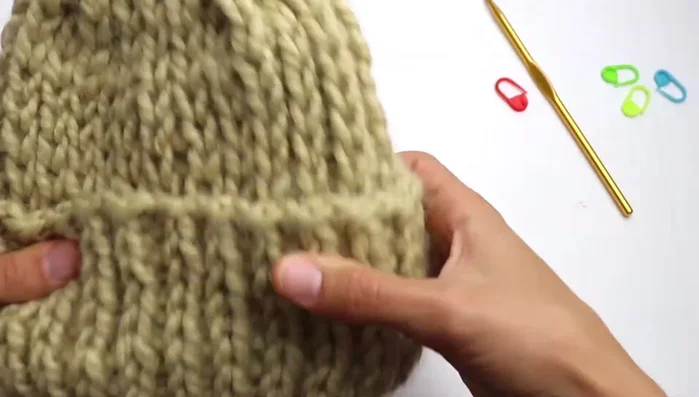
Turning and Beginning the Crown Knitting the Hat Body
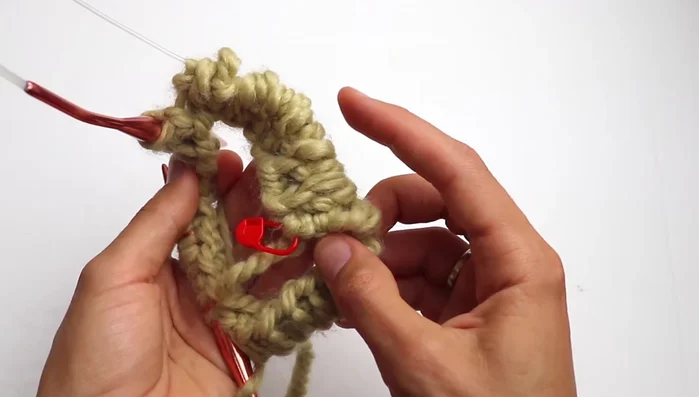
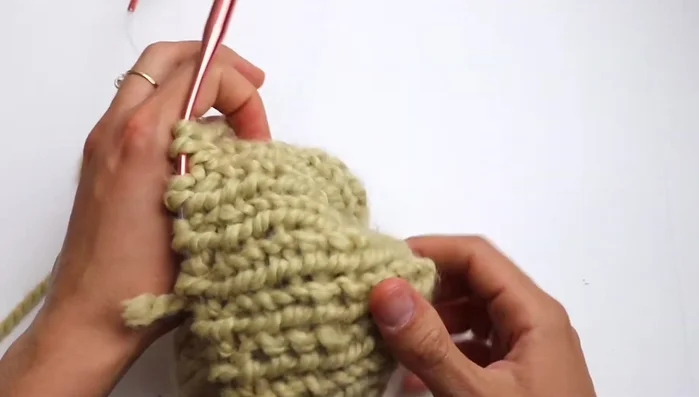
- Continue knitting in pattern until the hat reaches approximately 23-24 centimeters.
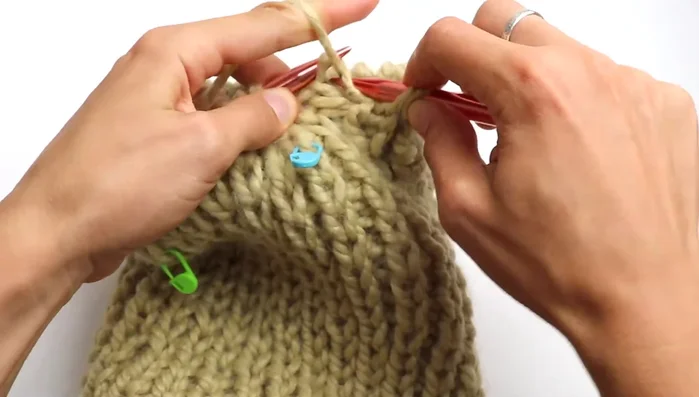
Knitting the Hat Body Marking for Decreases
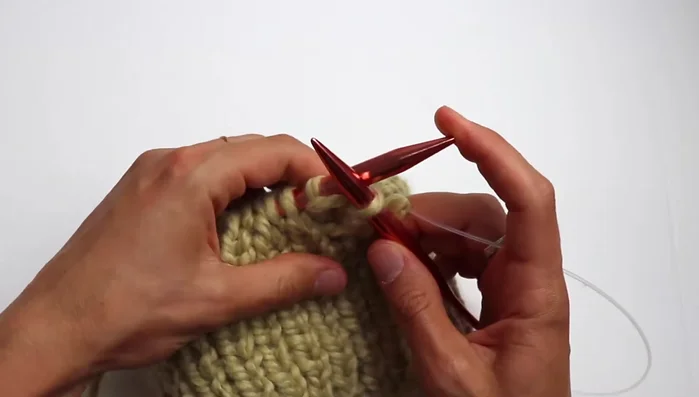
- Place stitch markers every 12 stitches (or 10 if you cast on 40 stitches) around the hat.
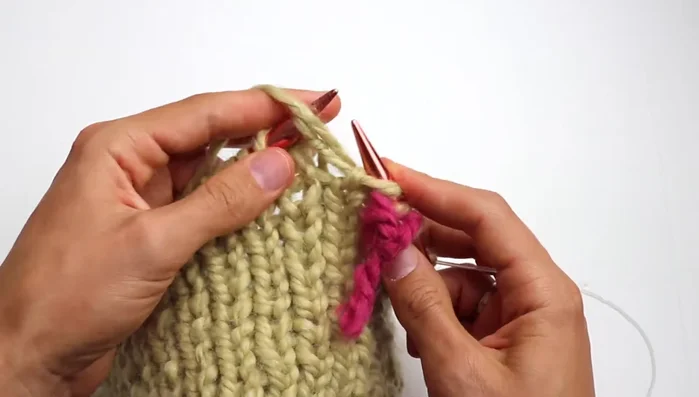
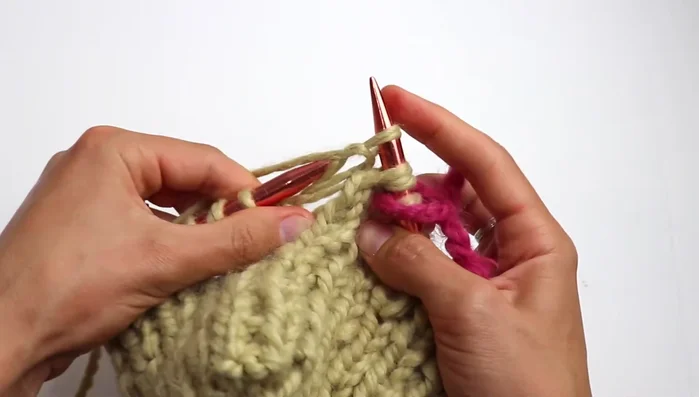
Marking for Decreases Decreasing the Crown
- *Purl 1, knit 1*. One stitch before a marker, knit three stitches together. Repeat from * to * around.
- Continue alternating rounds of decreases and rounds without decreases until 8 stitches remain.
Decreasing the Crown Closing the Crown
- Cut yarn, leaving a tail. Thread tail through a yarn needle or crochet hook, and pull through the remaining stitches to close the crown.
Closing the Crown Finishing Touches
- Weave in all loose ends.
- Wash and dry flat.
Finishing Touches

Read more: Knitting a Reversible Basketweave Blanket: A Customizable Guide
Tips
- Ensure the number of stitches is divisible by 4, with an even remainder, for consistent pattern.
- Knitting through the back loop creates a more textured purl stitch.
- Pay close attention to the direction of your stitches to avoid twists during decreasing rounds.