Step into a world of miniature artistry with this elegant bug brooch tutorial! Discover the captivating beauty of handcrafted beadwork as we guide you through the creation of a truly exquisite piece. Imagine the shimmering facets of carefully selected beads forming the delicate wings, intricate body, and perfectly poised antennae of a charming insect. This isn't just a brooch; it's a wearable work of art, a testament to your skill and creativity, perfect for adding a unique touch to any outfit.
This tutorial provides a detailed, step-by-step guide to crafting your very own elegant bug brooch, empowering you to transform simple beads into a stunning piece of jewelry. From selecting the perfect beads to mastering essential beadwork techniques, we’ll walk you through every stage of the process, ensuring even beginners can achieve professional-looking results. Let's begin!
Preparation and Safety Guidelines
- thin silver leatherette
- 18 millimeter crystals
- thread
- 3 millimeter acrylic pearl beads
- monofilament (0.12 millimeters)
- jewelry glue
- size 15 seed beads
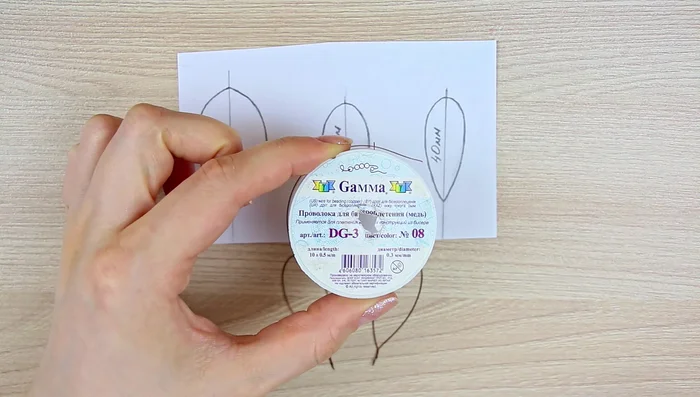
- 0.3 millimeter thick wire
- organza ribbon
- felt
- pins with balls at the ends
- 4 millimeter sequins
- clasp
- cardboard
- Always supervise children when working with small beads and sharp pins to prevent accidental ingestion or injury.
- Use a well-ventilated area when working with any potentially strong-smelling adhesives or paints to avoid inhalation issues.
- Clean your workspace and tools thoroughly after completing your project to avoid accidental spills or messes.
Step-by-Step Instructions
Prepare the Wings
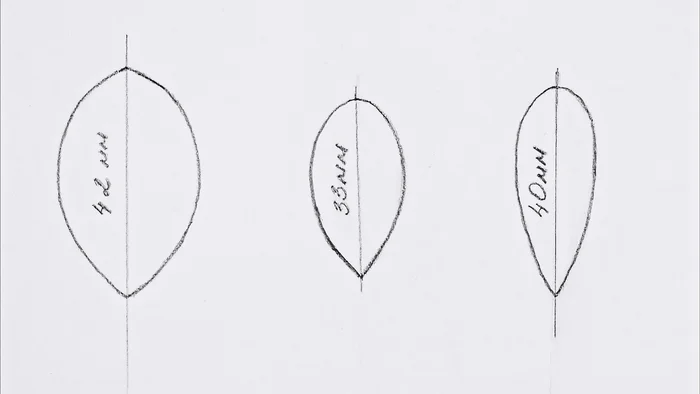
- Cut four identical wings using the second stencil.
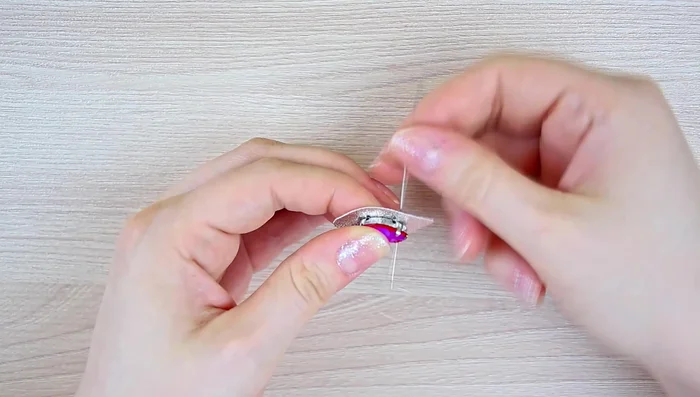
- Sew 18mm crystals onto the wings using monofilament (0.12mm). Then sew 3mm pearls around the crystals using the same monofilament.
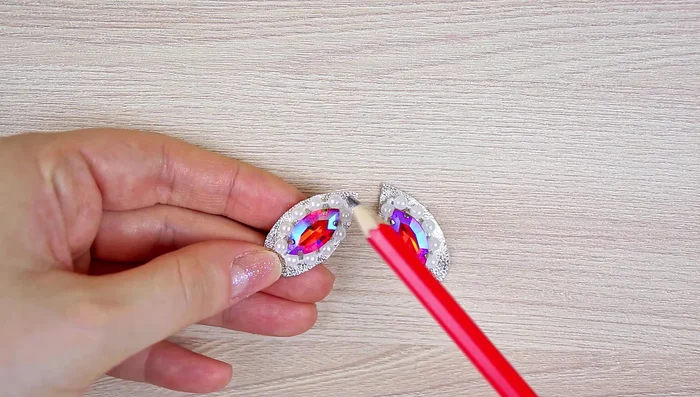
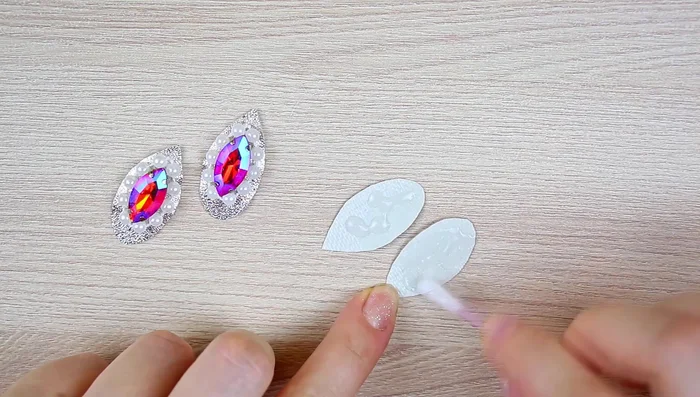
- Glue the last beads to the leatherette using jewelry glue.
- Glue the other two wings to the back of the first two wings.

Prepare the Wings Assemble the Upper Wings
- Secure all wing layers using monofilament and seed beads, creating a strong and neat connection.
Assemble the Upper Wings Prepare the Lower Wings
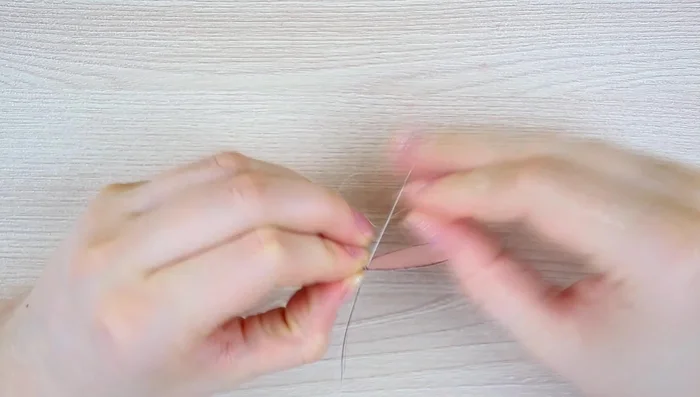
- Make two identical wings using the third stencil and 0.3mm thick wire, gluing them to organza ribbon.
- Embroider the edges of the organza wings with size 15 seed beads.
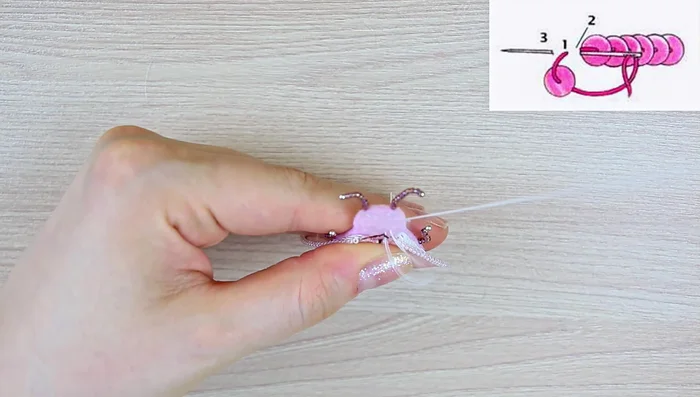
Prepare the Lower Wings Prepare Legs and Antennae
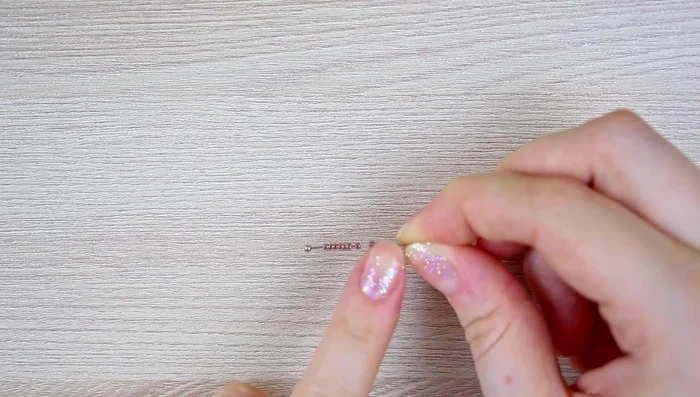
- Prepare the bug's legs and antennae using pins with balls and size 15 seed beads.
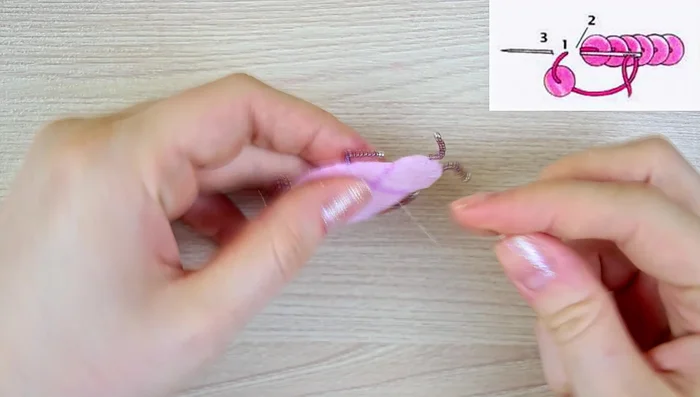
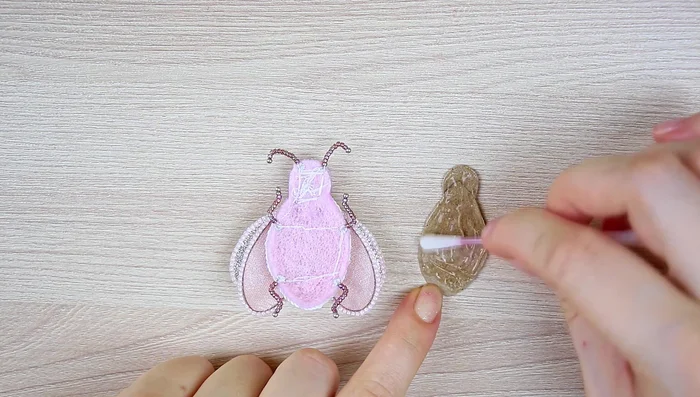
Prepare Legs and Antennae Create the Bug's Body
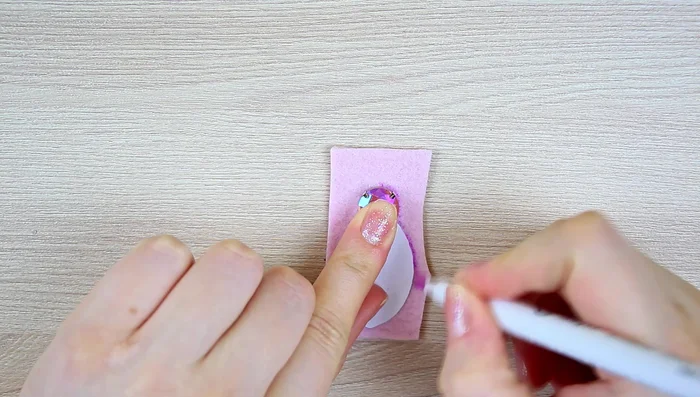
- Cut out the first stencil and trace it onto felt. Sew the legs and antennae to the felt using the loops.
- Embroider the bug's body with 4mm sequins, following the provided scheme.
- Sew the twisted wires to the felt with small stitches.
- Glue and sew the crystal to the felt.
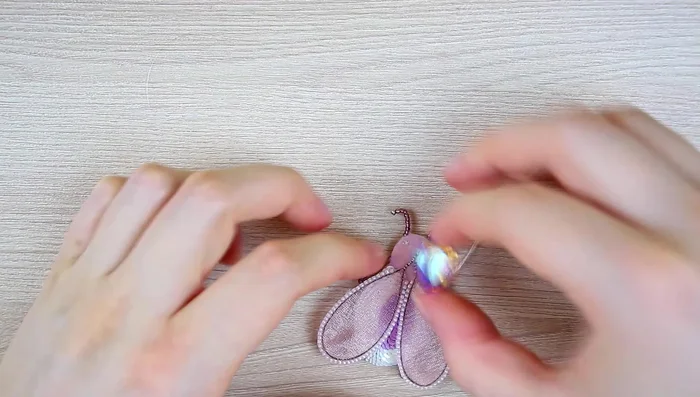
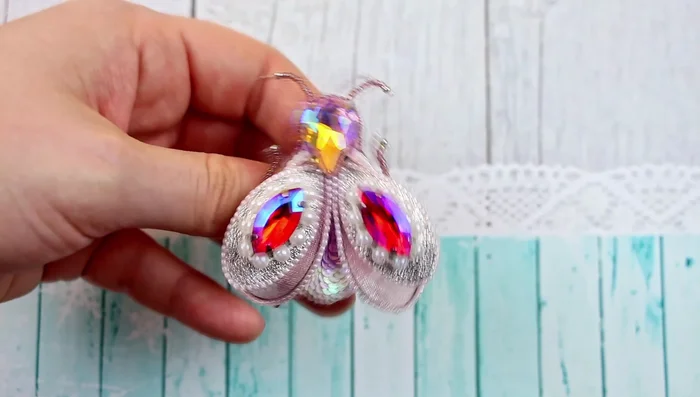
Create the Bug's Body Attach Wings to Body
- Sew the upper wings to the corners of the lower wings using monofilament.
Attach Wings to Body Create and Attach the Brooch Backing
- Glue the clasp to a cardboard backing (2mm smaller than the embroidery), then glue and stitch leatherette over the cardboard, creating a finished backing for the brooch.
- Embroider the edges of the leatherette backing with size 15 seed beads.
Create and Attach the Brooch Backing

Read more: DIY Tiered Tassel Earrings: A Quick & Easy Jewelry Tutorial
Tips
- Use a transparent monofilament for invisible stitching.
- Use a disappearing marker for tracing patterns onto felt.
- Overlap sequins for a more polished look.