Are you ready to elevate your jewelry-making skills and create a stunning, multi-strand necklace? This tutorial will guide you through the process of crafting a sophisticated piece featuring elegant cones and a secure toggle clasp. Forget simple strands; we're diving into a project that combines texture, visual interest, and a touch of modern elegance. This necklace is perfect for adding a touch of bohemian flair to any outfit, whether you're dressing up for a special occasion or adding a unique element to your everyday style. The interplay of the multiple strands, accented by the carefully placed cones, results in a truly eye-catching piece.
This tutorial will provide you with a detailed, step-by-step guide to creating this beautiful necklace, from selecting your materials to securing the final clasp. We’ll cover everything from choosing the right beads and wire to mastering the techniques for creating perfectly even strands and securely attaching the striking cones. Let's get started and unlock the secrets to making this exquisite piece of jewelry!
Preparation and Safety Guidelines
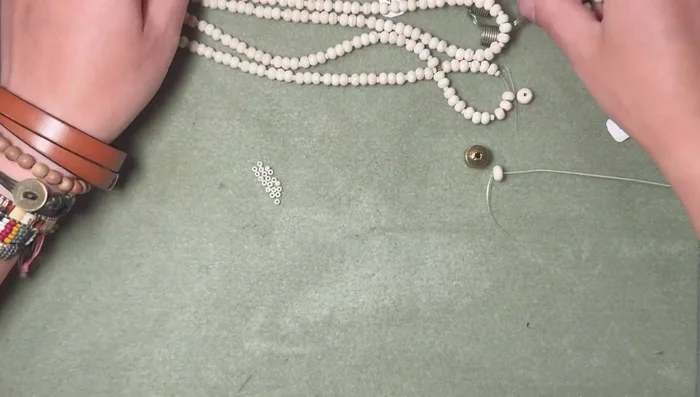
- Beads (various sizes and colors)
- Spacer beads
- 0.18 beading wire
- Bead stoppers
- Cones (at least two different sizes)
- Crimp beads (2mm x 2mm)
- Jump rings (small and large)
- Toggle clasp
- Round nose pliers
- Chain nose pliers
- Crimping pliers
- Ruler
- Always use sharp, high-quality wire cutters to prevent bending or damaging the wire. Dull cutters can crush the wire, weakening the necklace.
- Be mindful of the weight of your finished necklace. Heavier necklaces may require stronger cord or wire to prevent breakage.
- Avoid pulling excessively on the wire or cord while working. This can cause breakage or damage to your beads and components.
Step-by-Step Instructions
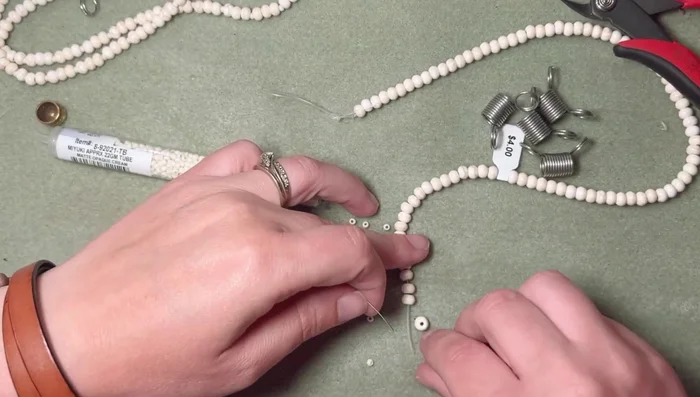
Create and Match Strands
- Create a beading pattern on one strand. A suggested pattern is three beads and one spacer.
- Repeat the pattern on subsequent strands, ensuring all strands are the same length. Measure frequently to maintain consistency.
- Adjust strand lengths by adding or removing beads until all strands match in length and pattern.

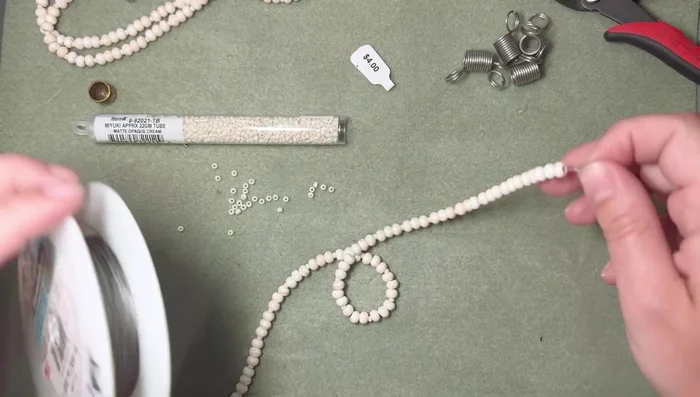
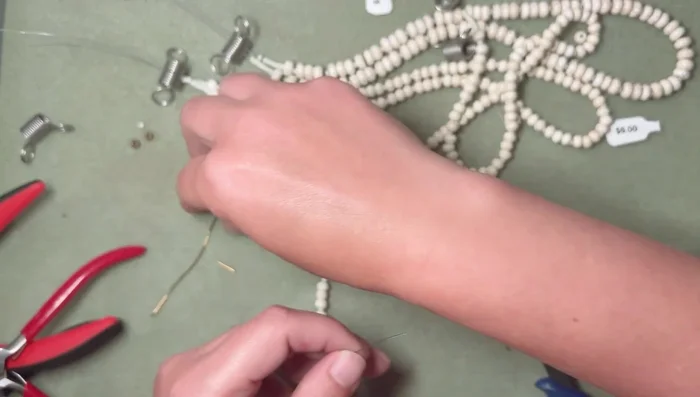
Create and Match Strands Prepare Wire Ends
- Prepare the wire ends for crimping, leaving several inches of extra wire on each end.
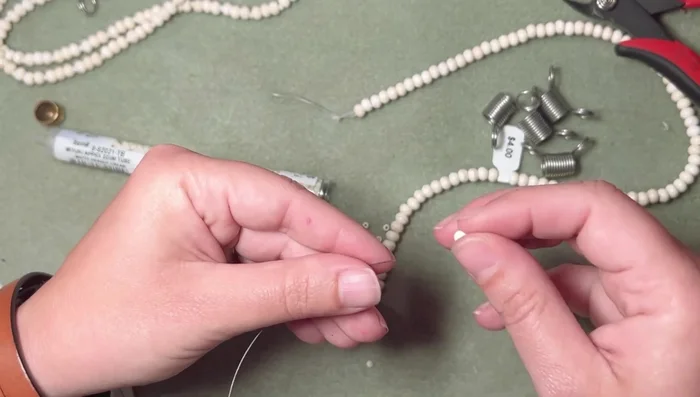
Prepare Wire Ends Cone Test and Bead Adjustment
- Test fit the cones with the beads to determine the appropriate number of end beads needed to fill the cone. It's crucial to consider that crimping will add extra length.
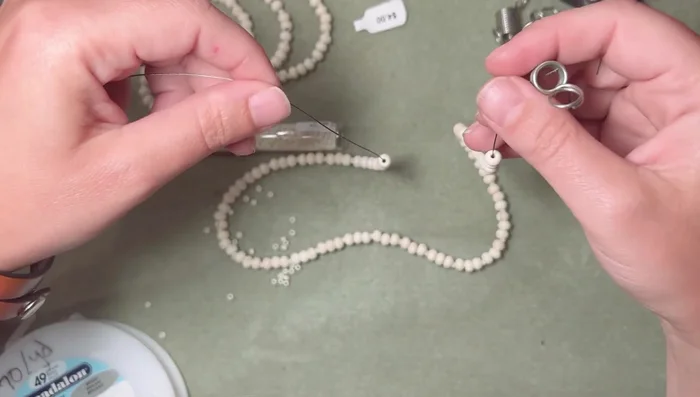
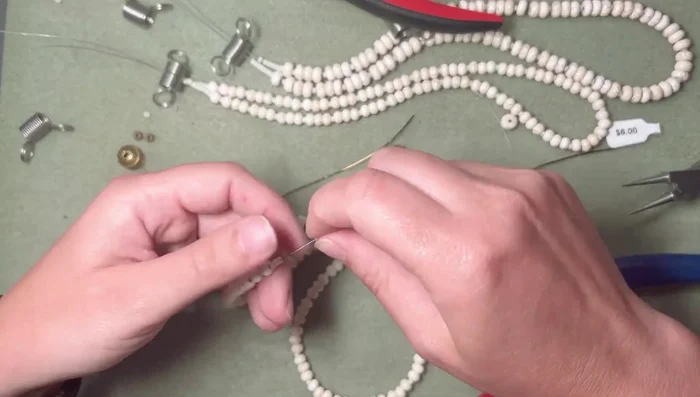
Cone Test and Bead Adjustment Crimp One End of Each Strand
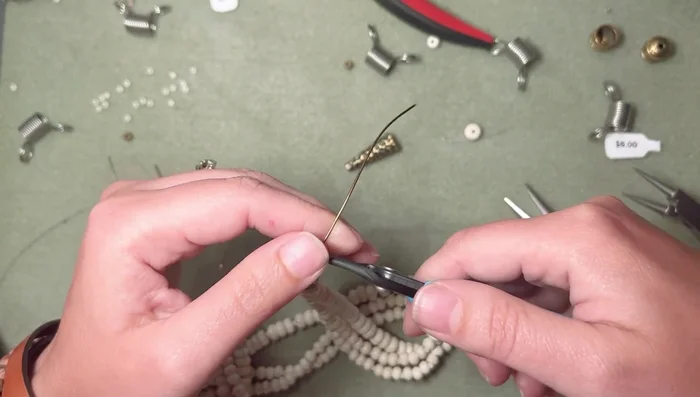
- Add crimp beads to the wire end. Crimp using crimping pliers (folding the crimp bead from the back to the front).
Crimp One End of Each Strand Crimp the Other End of Each Strand
- Repeat the crimping process on the other end of each strand.
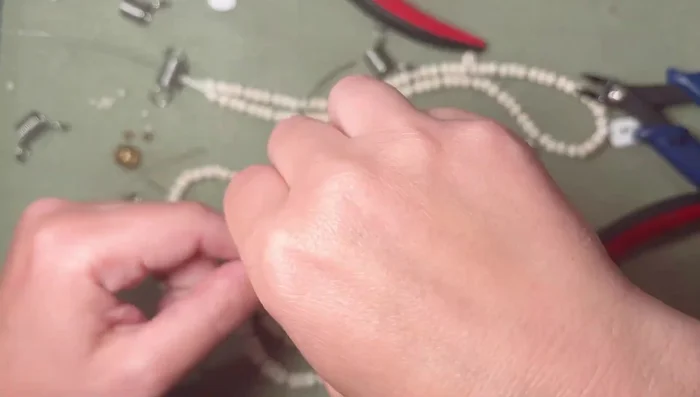
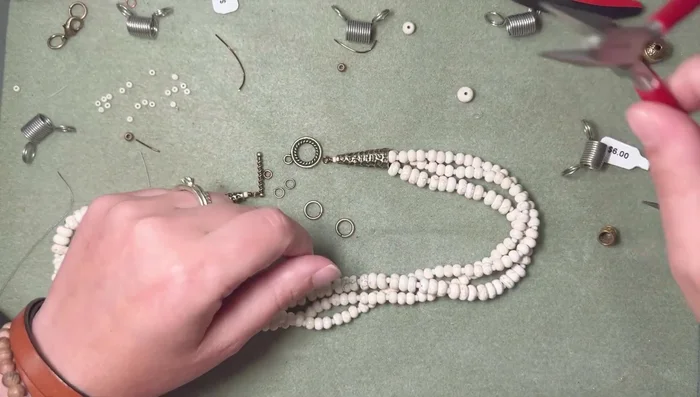
Crimp the Other End of Each Strand Assemble the Necklace
- Assemble the strands together, arranging the larger bead strand in the center.
Assemble the Necklace Create Top Loop
- Create a loop at the top of the necklace using round-nose pliers. Secure with a small coil and cut off excess wire. Consider adding a small bead at the top of the loop to prevent wire from being sucked into the hole.
Create Top Loop Attach Toggle Clasp
- Attach the toggle clasp using jump rings. For a secure closure, use two small jump rings on the toggle bar itself, in addition to a larger jump ring on the necklace end. This ensures the toggle bar stays in place and that you're able to easily attach and detach the clasp.
Attach Toggle Clasp
Read more: DIY Tiered Tassel Earrings: A Quick & Easy Jewelry Tutorial
Tips
- Use a ruler to measure and maintain consistent strand lengths.
- It's easier to remove beads than to add them, so start with slightly more beads than you think you'll need.
- When crimping, leave some slack to avoid applying too much tension to the wire.
- Consider the size of your cone and the number of strands when choosing your end beads.
- Use two small jump rings for a more secure and easier-to-use toggle clasp.