Dive into the captivating world of jewelry making with this easy-to-follow tutorial on creating stunning beaded necklaces! Whether you're a complete beginner or simply looking for a fun and relaxing craft project, creating your own beaded necklaces is a rewarding experience that allows for endless creativity and personalization. Imagine the satisfaction of wearing a unique piece of jewelry, crafted entirely by your own hands, reflecting your personal style and flair. This inexpensive and accessible craft requires minimal materials, making it the perfect hobby for anyone seeking a creative outlet.
Forget complicated patterns and intricate techniques; this tutorial focuses on simple yet elegant designs, perfect for building your confidence and skills. We'll guide you through each step, from selecting your beads and string to mastering essential knotting techniques. Ready to transform simple beads into a beautiful necklace? Let's get started with our step-by-step guide!
Preparation and Safety Guidelines
- Bead stringing wire
- Jump rings
- Lobster clasp
- Crimp beads
- Various beads
- Measuring tape
- Pliers
- Scissors
- Always supervise children when working with small beads to prevent choking hazards.
- Be mindful of sharp objects like wire or needles. Use caution and consider wearing gloves if necessary.
- If you experience eye irritation from small beads or wires, immediately flush your eyes with clean water and seek medical attention if needed.
Step-by-Step Instructions
Measure and Prepare Wire
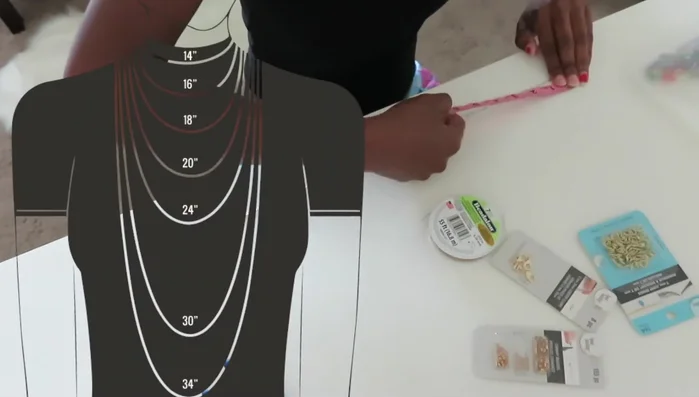
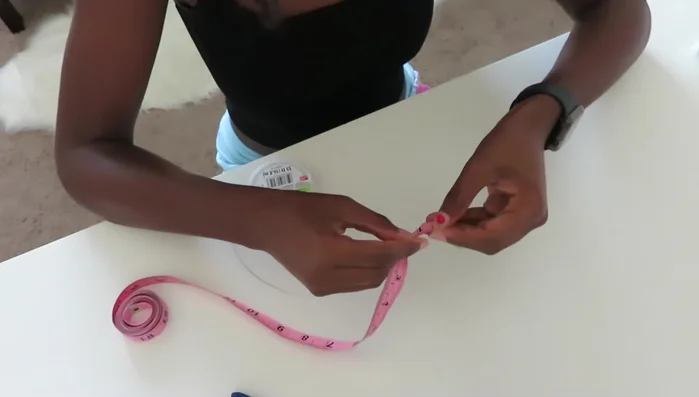
- Measure your desired necklace length (around 16.5 inches in this example). Use online charts for guidance.
- Cut the beading wire to the measured length.

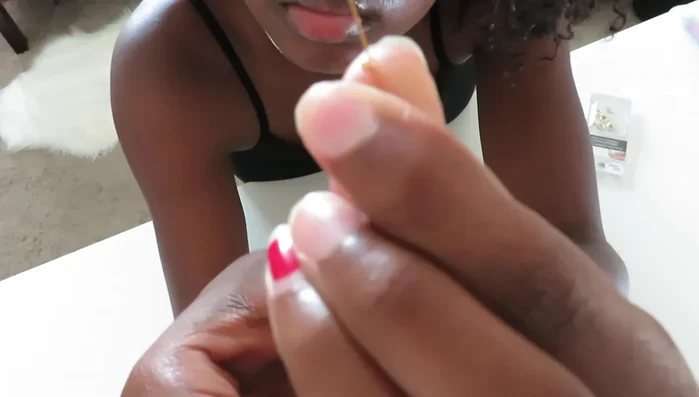
Measure and Prepare Wire Attach Clasp End
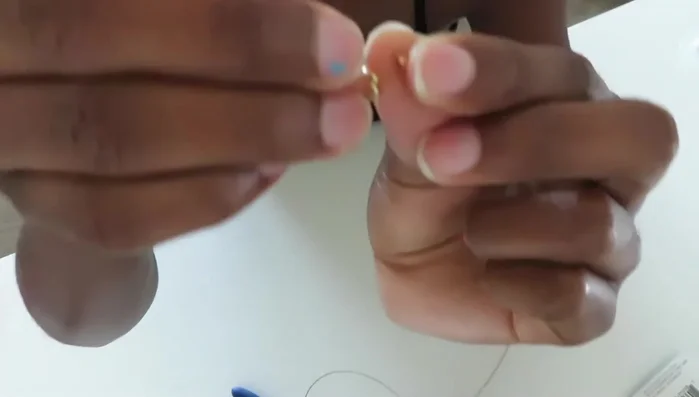
- Attach a crimp bead and a jump ring to one end of the wire.
- Loop the wire through the crimp bead.
- Close the crimp bead using pliers.
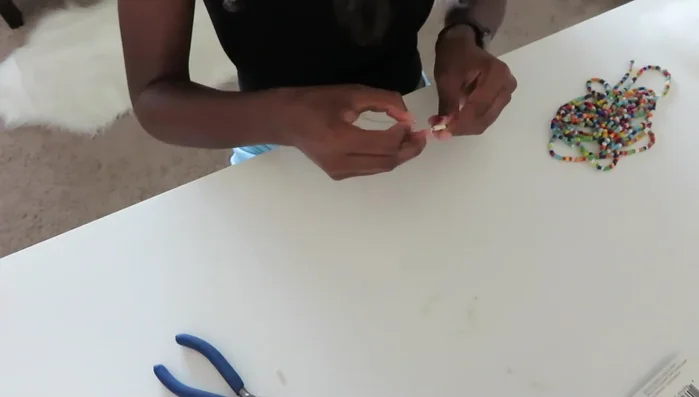
Attach Clasp End String the Beads
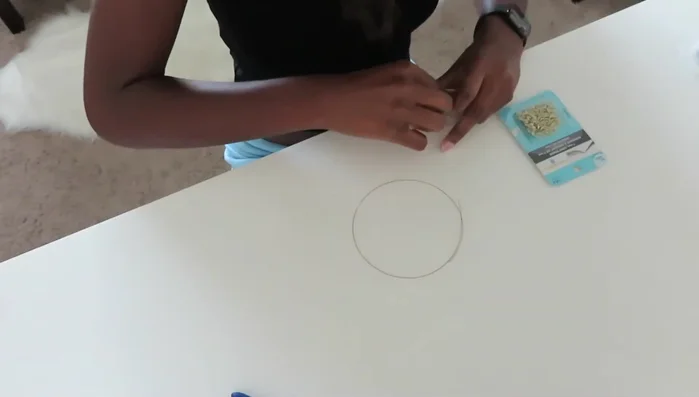
- String your chosen beads onto the wire.
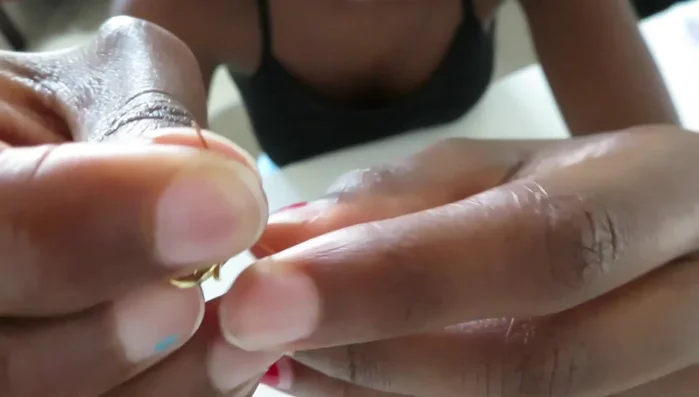
String the Beads Attach other Clasp End
- Attach another crimp bead to the other end of the wire.
- Add a lobster clasp to the end and loop the wire through the crimp bead.
- Close the crimp bead using pliers.
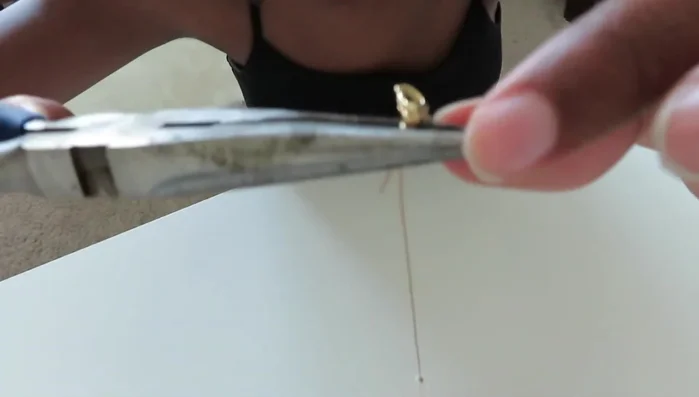
Attach other Clasp End Finishing Touches
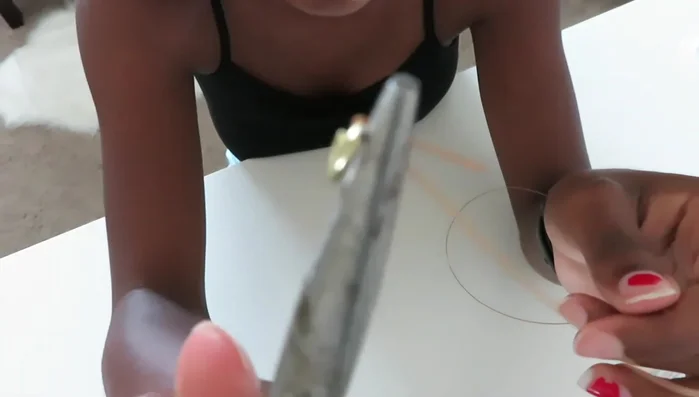
- Trim any excess wire sticking out from the crimp beads.
Finishing Touches
Read more: DIY Tiered Tassel Earrings: A Quick & Easy Jewelry Tutorial
Tips
- Consider using smaller lobster clasps next time.
- Use online charts to determine the appropriate necklace length.
- Be mindful that some beads may tarnish over time.
- If the wire from the crimp bead scratches your neck, consider adding tape to cover the ends.