Love the look of delicate, beaded necklaces but intimidated by the idea of making one? Fear not! This tutorial provides a simple and accessible method for crafting your own beautiful beaded necklace using basic crochet techniques. Even if you've never picked up a crochet hook before, you'll be surprised at how quickly you can master this project. We'll focus on straightforward stitches and easy-to-follow instructions, ensuring a satisfying and rewarding crafting experience, perfect for beginners. This project is ideal for showcasing your favorite beads, allowing you to personalize your necklace and create a unique piece of jewelry.
This beginner-friendly guide will walk you through the entire process, from gathering your materials to finishing touches, making it perfect for crafting newbies. Get ready to unleash your creativity and learn the fundamental skills needed to create your very own stunning beaded necklace; let's dive into the step-by-step instructions!
Preparation and Safety Guidelines
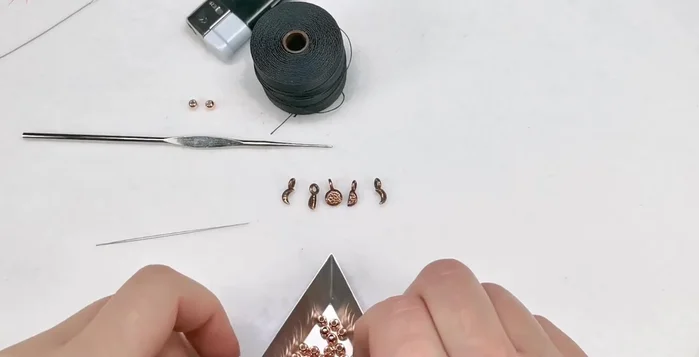
- 1mm crochet hook (or 1.5-1.75mm for beginners)
- Aslon micro cord (0.25mm) or Toho Ami cord (0.5mm)
- TierraCast charms (optional)
- Round beads (rose gold coated)
- Big eye needle
- Lighter
- Scissors
- Always use sharp, high-quality crochet hooks appropriate for your chosen bead size to prevent the beads from cracking or the hook from bending. A hook too small will damage your beads and a hook too large will make it difficult to work.
- Before starting your project, string a few beads onto your working yarn to practice your bead picking technique and ensure a comfortable working tension. This will help prevent dropped beads and frustration.
- Be mindful of your yarn tension throughout the project to create a consistently sized necklace. Too tight and your beads might crack or your yarn might snap; too loose and your necklace will look sloppy.
Step-by-Step Instructions
Prepare Materials
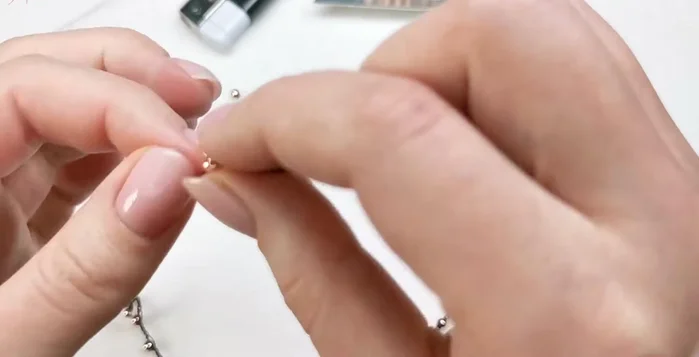
- Separate beads for the ends and four beads to space out the charms.

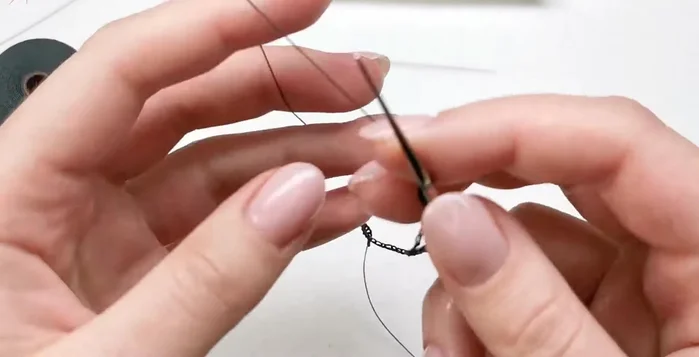
Prepare Materials Start the Crochet
- Thread the cord behind and then above the crochet hook to create a loop. Pass the end of the thread through the loop to secure the slip knot.
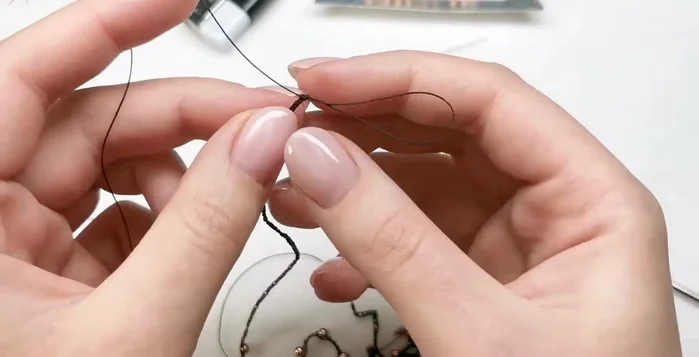
Start the Crochet Create the Necklace Chain
- Create a chain of approximately 5 inches to tie the necklace around your neck. Hook the thread behind and slip it through the loop on your hook for each chain stitch.
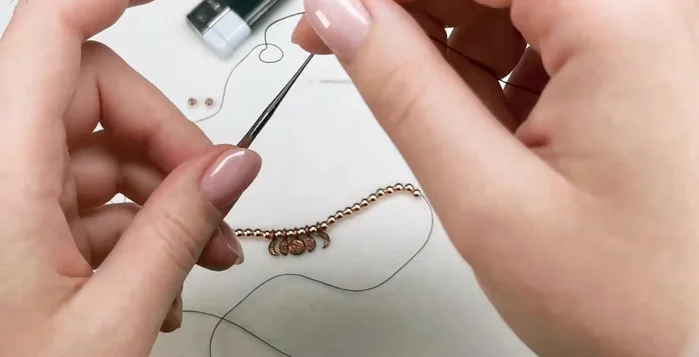
Create the Necklace Chain Add Beads to Chain
- Add one bead at a time, creating three chain stitches between each bead. Make larger loops to accommodate the charms.
Add Beads to Chain Add Charms to Chain
- Add charms by creating a larger loop and threading the cord through the loop, creating three chain stitches after each charm.
Add Charms to Chain Finish the Chain
- Secure the chain by threading the end through the last loop and cutting off excess cord.
Finish the Chain Add End Beads and Secure
- Add a weight bead to each end, tying a knot on the chain to secure it and melting the ends with a lighter to prevent unraveling.
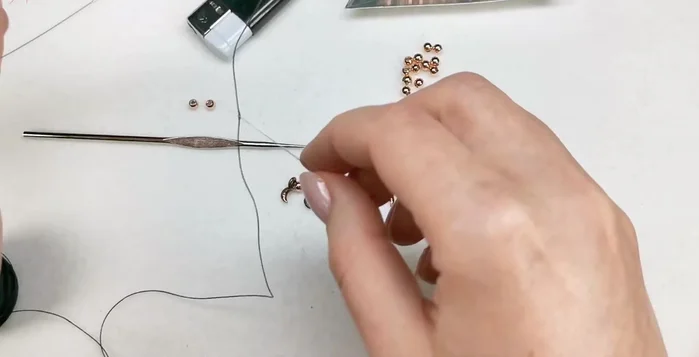
Add End Beads and Secure String Beads onto Cord
- Thread the cord through a big eye needle and string on the prepared beads.
String Beads onto Cord


Read more: Easy Color Block Crochet Blanket Tutorial for Beginners
Tips
- Use a 1mm crochet hook for 0.25mm cord. Beginners may use a larger hook (1.5-1.75mm).
- Aslon micro cord (0.25mm) is recommended for a flowy effect.
- Pay attention to the direction when adding charms to maintain the intended sequence.
- Hold the cord conveniently between your fingers for easier sliding during crocheting.
- Keep the chain stitches slightly loose for better adjustment and regulation.