Looking for a stylish and simple accessory to elevate your everyday look? This easy beaded crochet headband tutorial is perfect for you! Whether you're a seasoned crocheter or just starting out, this project is surprisingly accessible, offering a satisfying craft experience with a beautiful, wearable result. The delicate shimmer of the beads adds an extra touch of elegance, making this headband suitable for everything from casual outings to more dressed-up occasions. You'll be amazed at how quickly and effortlessly you can create this charming accessory.
This tutorial provides a clear, step-by-step guide to making your own beaded crochet headband, perfect for beginners and experienced crafters alike. We'll cover everything from choosing the right materials to mastering the basic stitches, ensuring you'll be able to follow along with ease. Let's dive into the step-by-step process and get started on your new favorite headband!
Preparation and Safety Guidelines
- Cotton yarn (double yarn recommended)
- Crochet hook (3.50 mm)
- Beads
- Clear nail polish
- Scissors
- Needle
- Always supervise children when crafting with small beads to prevent choking hazards.
- Use sharp scissors carefully to avoid cuts and injuries.
- Ensure the headband fits comfortably; avoid overly tight headbands to prevent headaches or discomfort.
Step-by-Step Instructions
Prepare Materials
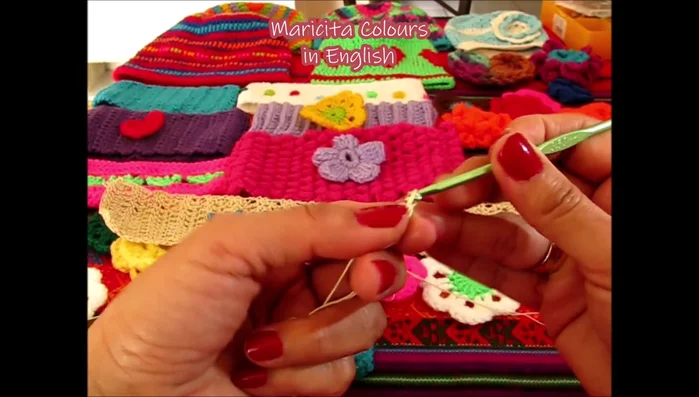
- Apply clear nail polish to the yarn end to help thread beads easily. Let it dry.

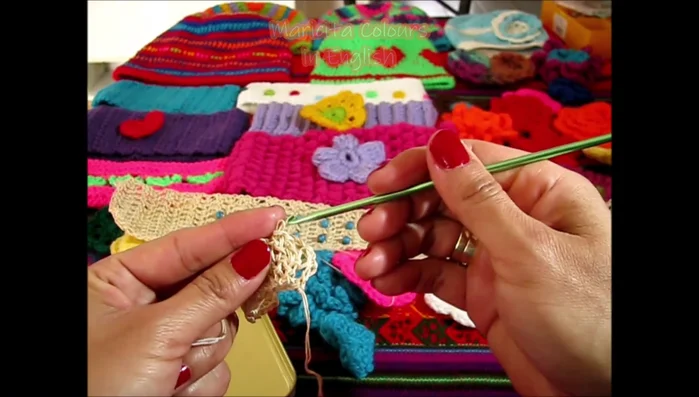
Prepare Materials Create Foundation Chain
- Chain 12 + 3 chains. This will form the foundation chain for the headband.
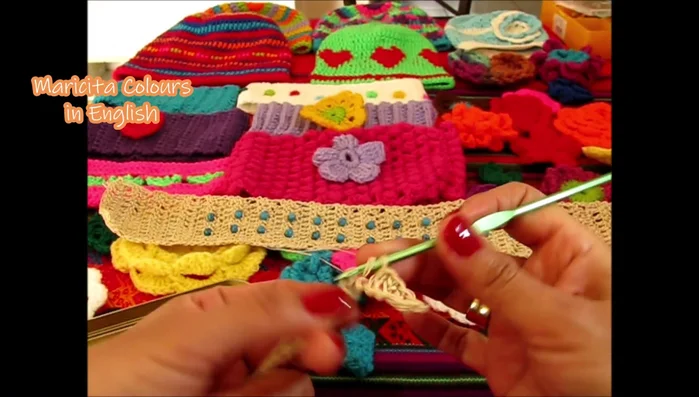
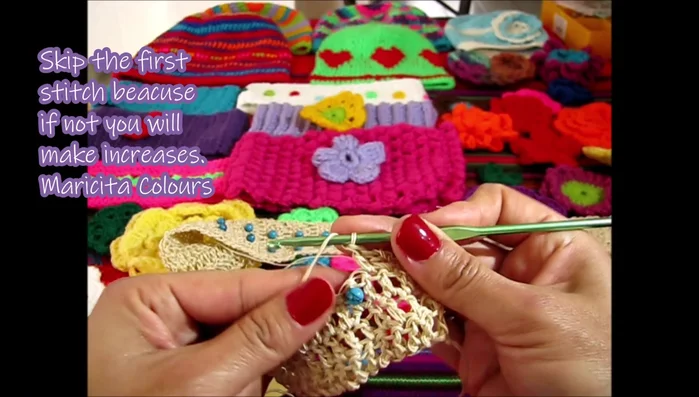
Create Foundation Chain Initial Double Crochet Rows
- Double crochet in each stitch across the foundation chain.
- Continue double crocheting in each stitch. Work 8 rows before adding beads.
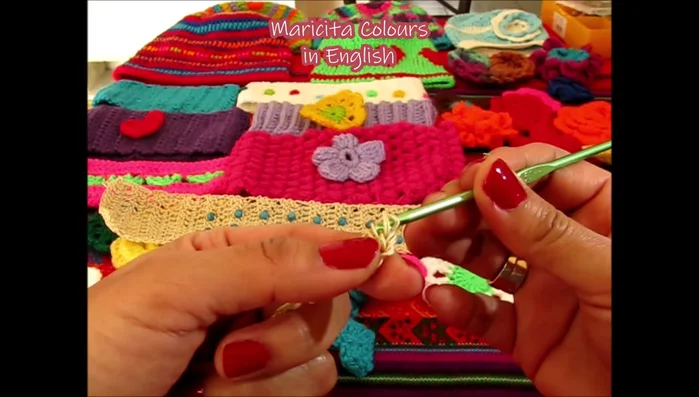
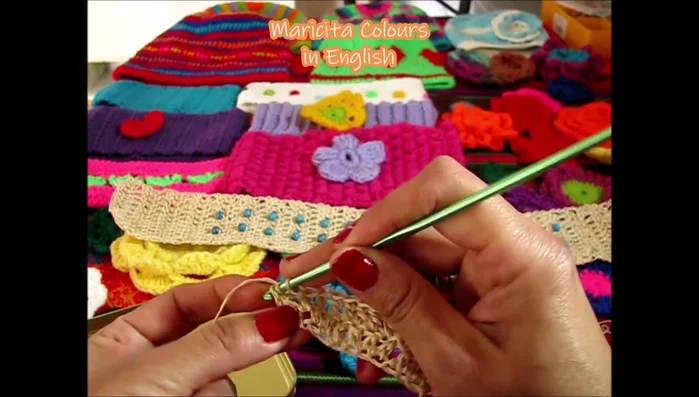
Initial Double Crochet Rows Begin Beading
- Incorporate beads while double crocheting, placing them on the front of the work.
- Follow a pattern, adding beads at regular intervals (refer to the provided table in the video).
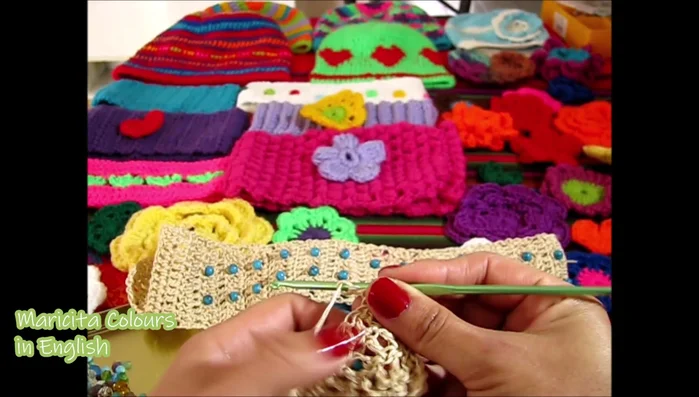
Begin Beading Alternate Bead and Plain Rows
- Alternate rows of double crochet only and rows with beads.
- Continue the pattern, alternating bead rows and plain double crochet rows until the desired length is reached.
Alternate Bead and Plain Rows Finish Headband
- Once the desired length is reached, fasten off the yarn, leaving a tail for sewing.
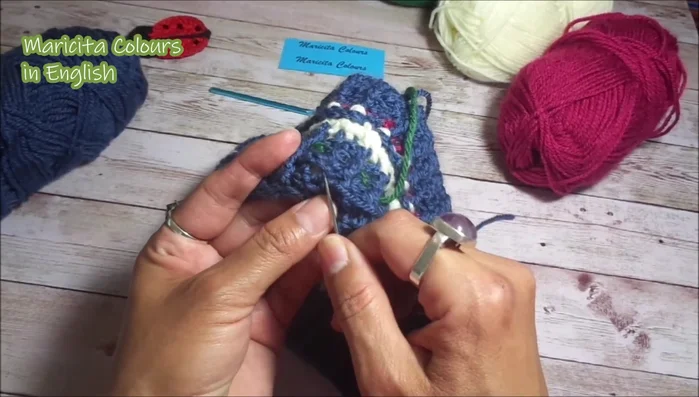
Finish Headband Join and Secure Ends
- Join the ends of the headband with a slip stitch, sewing the ends together securely.
- Securely weave in all loose ends.
Join and Secure Ends


Read more: Easy Color Block Crochet Blanket Tutorial for Beginners
Tips
- Use double yarn for a thicker, more substantial headband.
- Place beads on the front of the work for a cleaner look.
- Create your own bead placement pattern. The video provides a sample pattern, but you can adjust to your preference.
- Keep track of your stitch counts to maintain consistent row lengths.