Discover the effortless charm of handmade jewelry with this simple tutorial on creating a stunning one-strand beaded bracelet. Perfect for beginners and experienced crafters alike, this project offers a satisfying blend of creativity and ease. You'll learn how to select the perfect beads, choose the right cord, and master the fundamental knotting techniques necessary to craft a beautiful and personalized accessory. Forget expensive store-bought bracelets; with readily available materials and a little patience, you'll be crafting elegant pieces in no time, showcasing your unique style and adding a touch of handmade artistry to your wardrobe.
This step-by-step guide will walk you through each stage of the process, from preparing your materials to securing the final knot, ensuring a polished and professional finish. Prepare to be amazed at how quickly you can transform simple beads into a wearable piece of art that's sure to garner compliments. Let's get started and create your own exquisite one-strand beaded bracelet!
Preparation and Safety Guidelines
- Nipper tools
- Soft flex fine wire
- Chain nose pliers
- Bent nose pliers
- Crimp beads
- Crimping tool
- Clasp
- Seed beads
- Always supervise children when working with small beads to prevent choking hazards.
- Use sharp scissors carefully to avoid cuts and injuries. Keep them away from children.
- If you experience any hand strain or discomfort, take breaks and stop working. Avoid repetitive strain injuries.
Step-by-Step Instructions
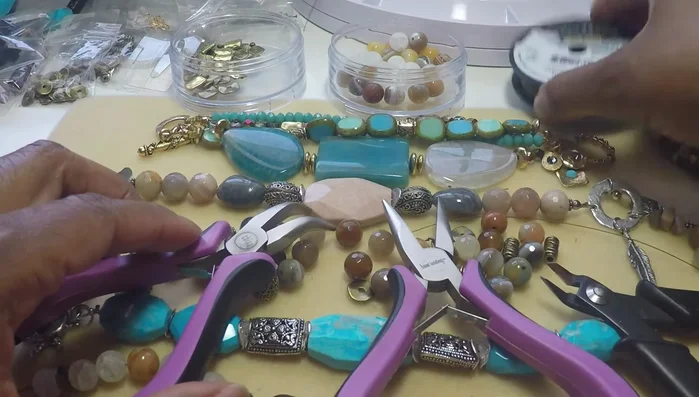
Gather Supplies
- nipper tools, soft flex fine wire, chain nose pliers, bent nose pliers, crimp beads, crimping tool, clasp, seed beads, and beads for the bracelet.

Gather Supplies Attach Clasp
- String your clasp onto the wire.
- Add at least two crimp beads to each end for security.
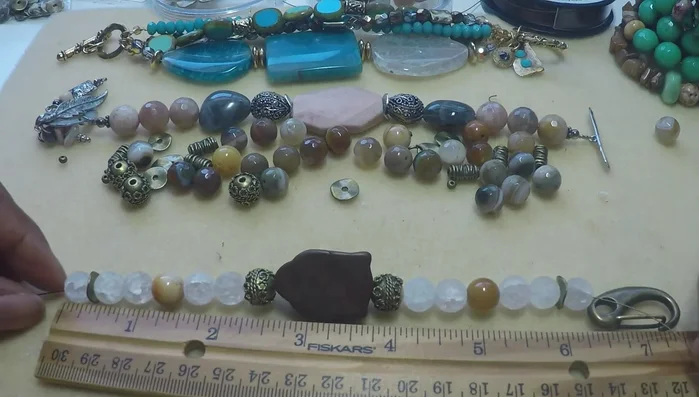
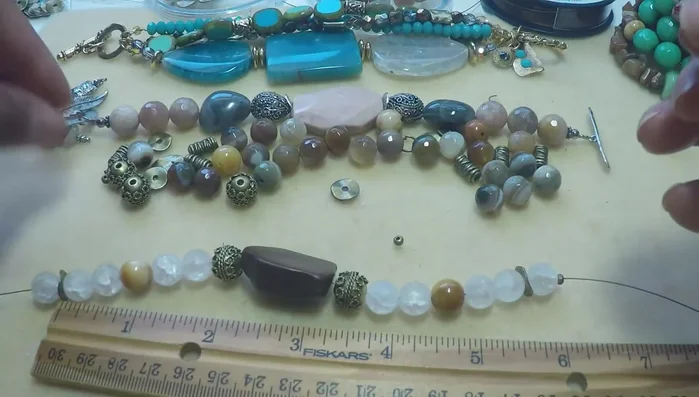
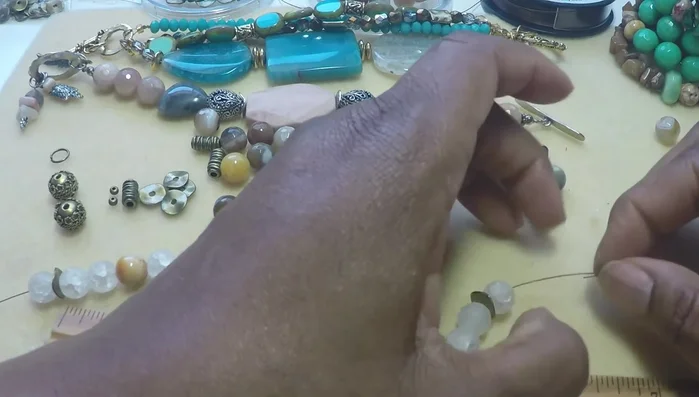
Attach Clasp String Beads (First Half)
- Thread the wire through the beads, creating a single strand.
- Continue threading the wire through the beads until you reach the middle.
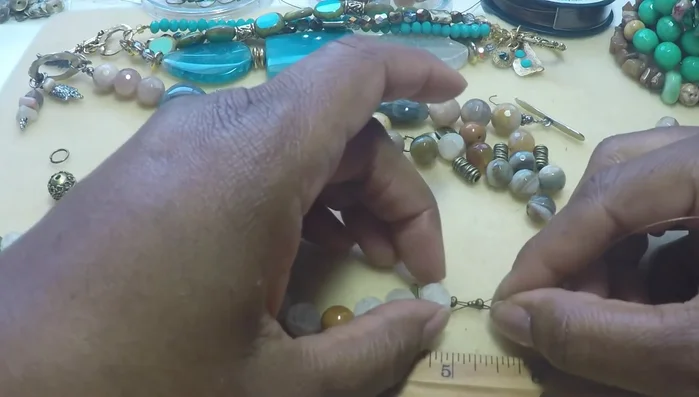
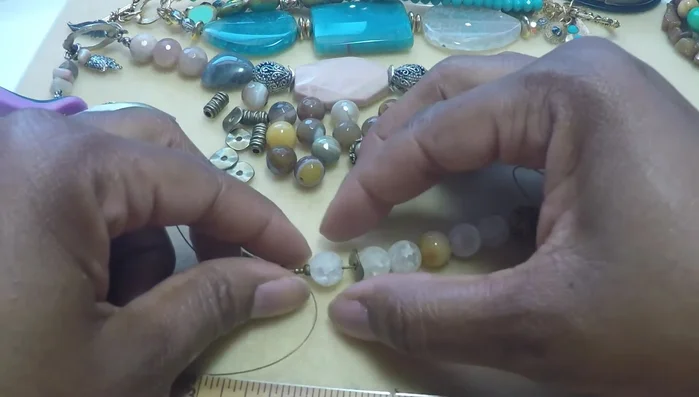
String Beads (First Half) String Beads (Second Half)
- Repeat steps 4 and 5 on the other side.
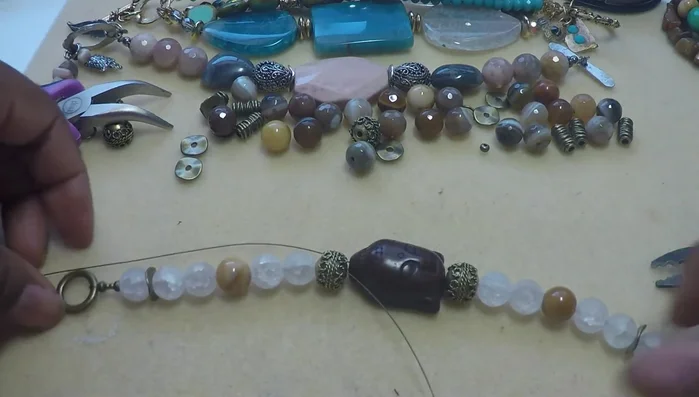
String Beads (Second Half) Attach Clasp Ring & Crimp
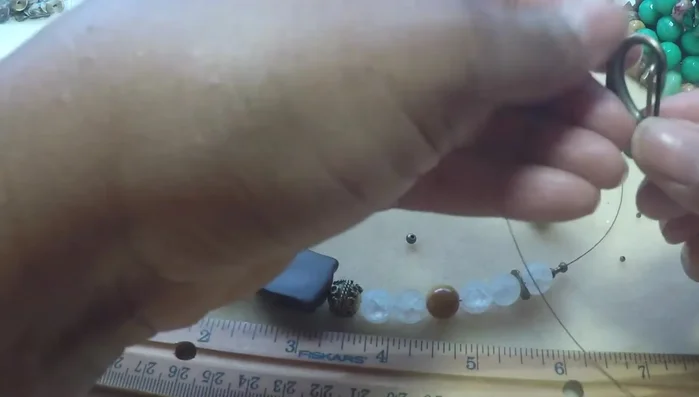
- Add the clasp ring to one end and thread it through the crimp beads.
- Pull the wire tight and crimp the beads using the crimping tool.
- Repeat step 8 on the other side, ensuring that it's snug but not too tight.
Attach Clasp Ring & Crimp Secure & Finish
- Use chain nose pliers to further secure the crimped beads.
- Cut off any excess wire and hide the ends.
Read more: DIY Tiered Tassel Earrings: A Quick & Easy Jewelry Tutorial
Tips
- Use soft flex fine wire for smaller beads and medium wire for larger beads.
- Add extra crimp beads and seed beads for added security.
- Don't pull the wire too tight to prevent snapping.
- Leave a little extra space in the middle to make it easier to thread.