Have you always admired the delicate shimmer of crystal earrings but balked at the price tag? Well, get ready to unleash your inner artisan because today we’re transforming ordinary crystals into extraordinary, sparkling earrings with this easy-to-follow Beadaholique tutorial! We'll guide you through crafting your own pair of dazzling statement pieces, perfect for adding a touch of elegance to any outfit, from casual daytime looks to glamorous evening affairs. Forget expensive designer jewelry – you’ll be surprised at how affordable and satisfying it is to create stunning jewelry yourself.
This DIY project is perfect for beginners, requiring only a few readily available supplies and minimal crafting skills. With Beadaholique’s high-quality materials and our clear instructions, you'll be crafting your own personalized crystal earrings in no time. Ready to add some sparkle to your jewelry box? Let's dive into the step-by-step instructions to make your own unique DIY sparkling crystal earrings.
Preparation and Safety Guidelines
- Etsy circle bezel earrings (8mm outer diameter, 6.5mm inner diameter)
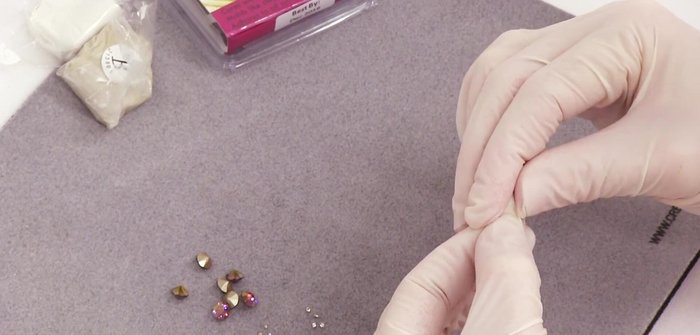
- Swarovski crystal pointed sew-ons (SS29 size)
- Swarovski crystal lens sew-ons (PP10 size, Crystal Lilac Shadow color)
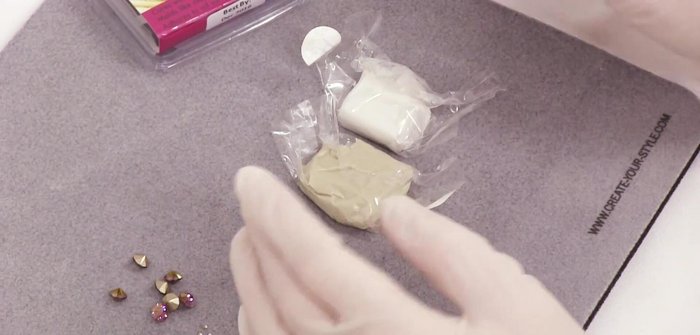
- White crystal clay
- Gloves
- Pick (or toothpick)
- Always supervise children if they are participating in any part of this project. Small beads and findings present a choking hazard.
- Be cautious when using wire or jewelry pliers. Sharp edges can cause injury. Use appropriate caution and consider wearing gloves.
- If you are allergic to certain metals (nickel, etc.), ensure all findings and wires are made from hypoallergenic materials.
Step-by-Step Instructions
Prepare the Crystal Clay
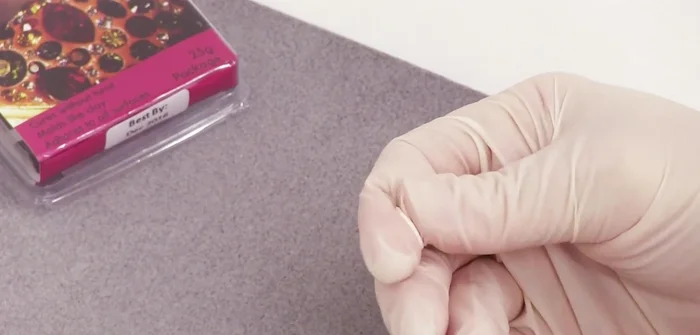
- Mix equal parts of crystal clay A and B until no striations remain.

Prepare the Crystal Clay Shape and Place the Clay
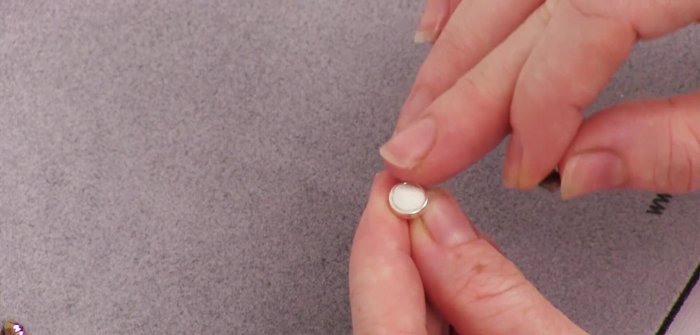
- Roll into a ball, then shape a portion to fit snugly inside the bezel setting, leaving only a slight amount above the rim.
- Place the clay into the bezel setting.
Shape and Place the Clay Set the Focal Crystal
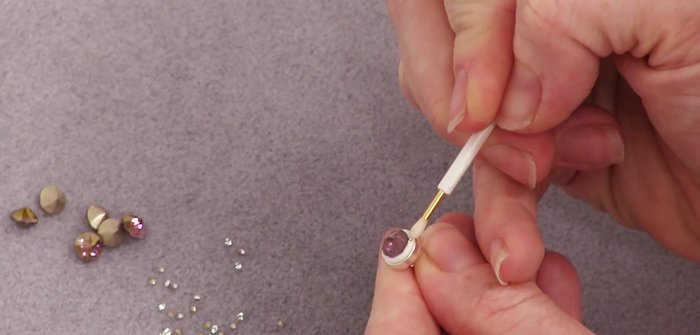
- Center a pointed sew-on in the clay.
Set the Focal Crystal Add Accent Crystals
- Carefully place the smaller lens sew-ons around the central pointed sew-on, ensuring each is firmly embedded and slightly spaced apart.
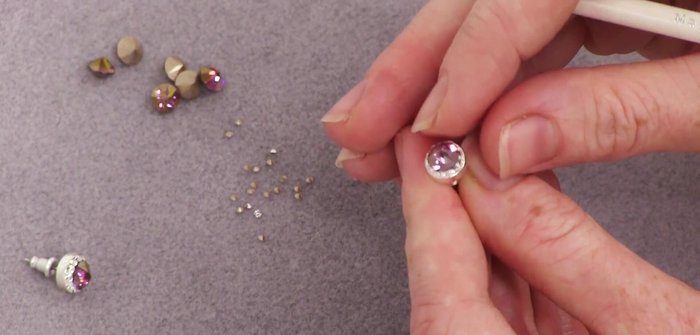
Add Accent Crystals Secure and Center Crystals
- Press all crystals into the clay to secure them and ensure proper centering.
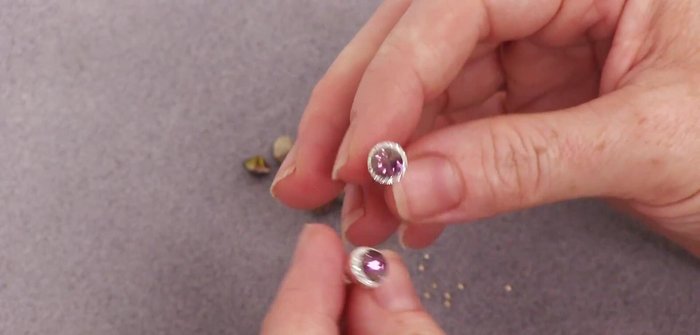
Secure and Center Crystals Dry the Earrings
- Let the earrings dry overnight (or at least 3-4 hours).
Dry the Earrings
Read more: DIY Tiered Tassel Earrings: A Quick & Easy Jewelry Tutorial
Tips
- Only mix as much crystal clay as needed for the project. Unmixed clay lasts a long time.
- Work with the crystal clay within the first 20-30 minutes after mixing for optimal stickiness.
- Match the clay color to the stone color for a seamless blend; using contrasting colors will make the clay base more noticeable.
- Don't use too much clay; a small amount above the bezel rim is sufficient. Excess clay may spill over when the stones are added.