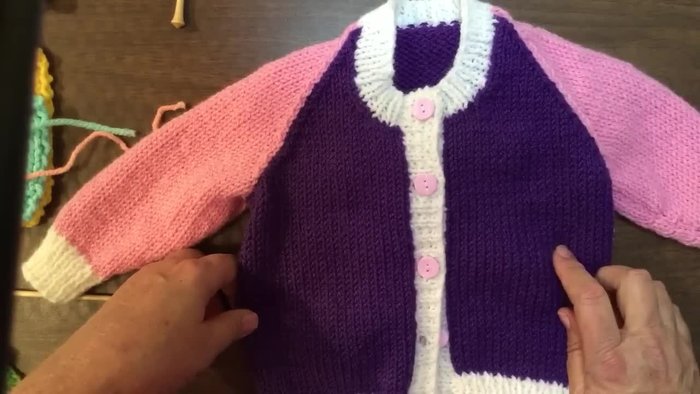
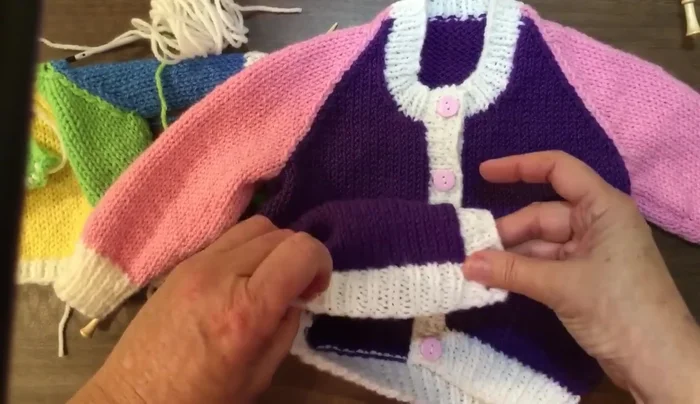
Crafting a baby jacket is a labor of love, a tiny garment brimming with warmth and affection. But the finishing touches can often feel daunting, transforming a beautifully knitted or sewn piece into a truly professional-looking item. Seams can be bulky, edges frayed, and the overall effect less than perfect. This often leads to frustration, particularly for newer knitters and sewers. This guide aims to alleviate those anxieties, providing expert techniques to achieve flawlessly finished baby jackets that are both adorable and durable. We'll explore a range of methods, focusing on creating smooth, invisible seams and beautifully neat edges.
From perfectly mitered corners to elegant bind-offs and seamless construction methods, we'll explore the secrets to achieving a truly professional finish. This comprehensive guide will walk you through a variety of techniques, offering clear instructions and helpful illustrations to help you confidently create a beautiful, seamless baby jacket your little one will treasure. Let's dive into the step-by-step process, beginning with choosing the right yarn and needles.
Preparation and Safety Guidelines
- Denise needles
- Stitch holders
- Clover stitch holder
- Yarn needle
- Always use sharp needles and pins to avoid snagging the delicate baby yarn. Blunt tools can cause breakage and damage the finished garment.
- Prioritize safety when using sewing machines or other tools with moving parts. Keep fingers clear and ensure the machine is properly maintained.
- Before giving the finished garment to a baby, check thoroughly for any loose threads, pins, or small parts that could pose a choking hazard.
Step-by-Step Instructions
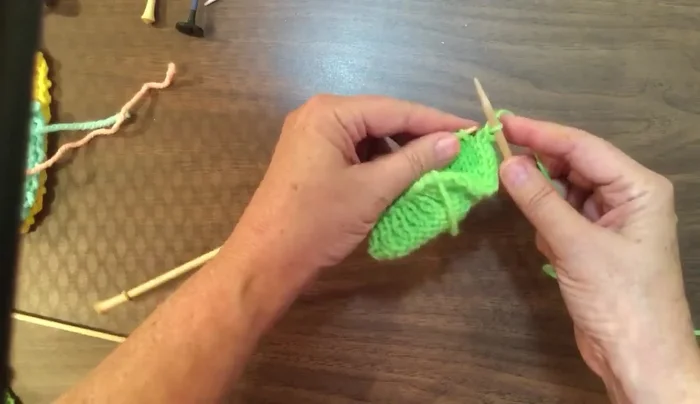
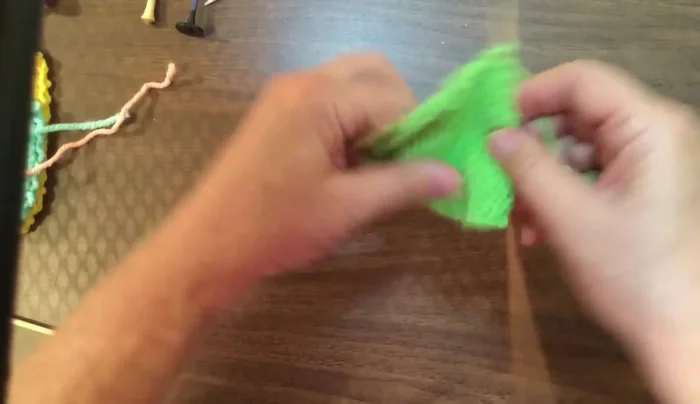
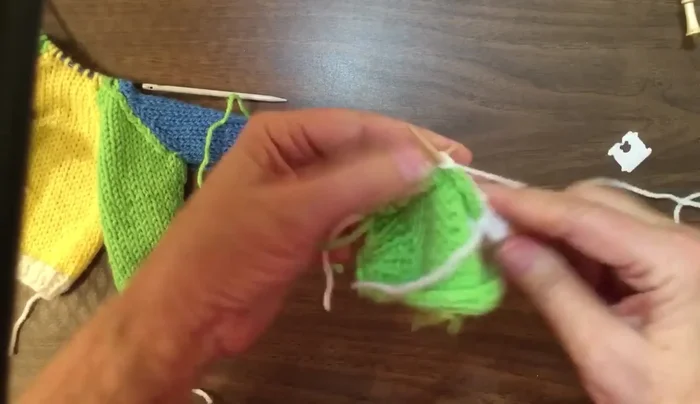
Knitting the Jacket Pieces
- Knitting Jacket Pieces Separately

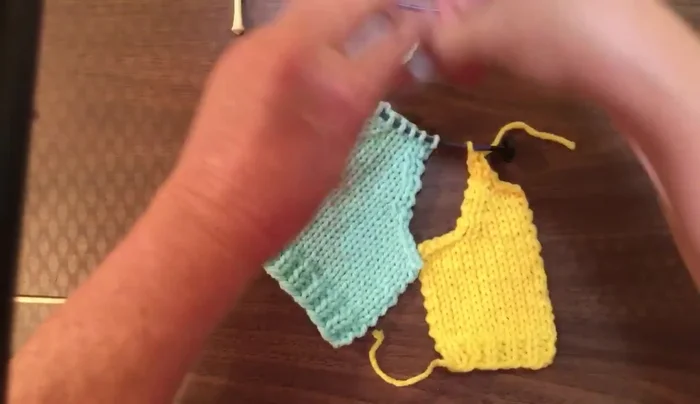
Knitting the Jacket Pieces Preparing Sleeves and Armholes
- Underarm Bind Offs (Pearl side)
- Armhole Decreases (Knit one, SSK/sl1 k1 psso, knit to last 3, k2tog, k1)
Preparing Sleeves and Armholes Sewing the Shoulders
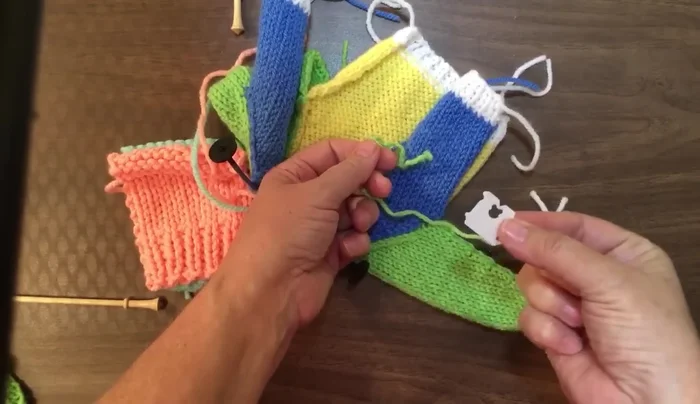
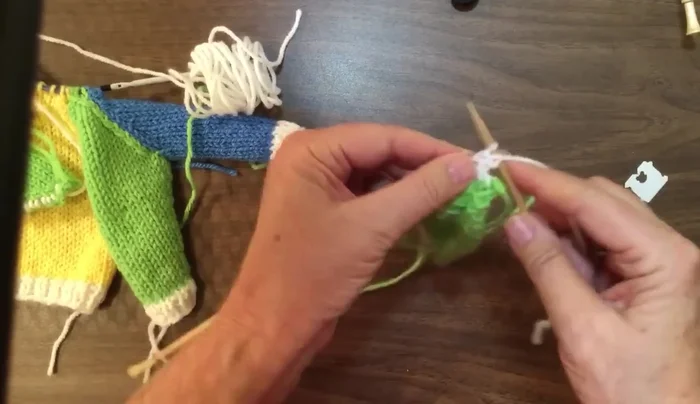
- Sewing Shoulder Seams (through horizontal bars)
Sewing the Shoulders Sewing the Sides
- Sewing Side Seams (through horizontal bars, leaving slight ease)
Sewing the Sides Creating the Collar
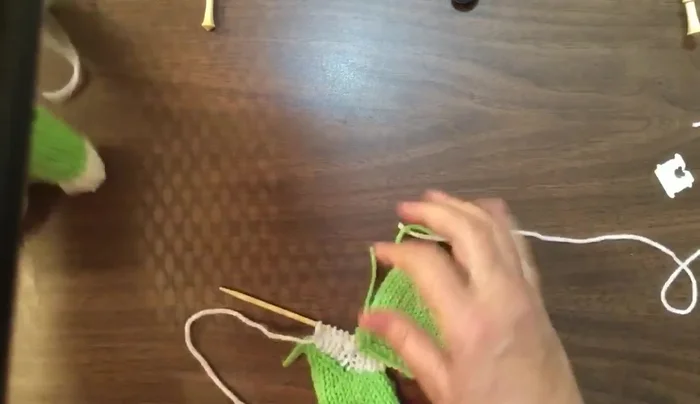
- Picking up Neck Stitches (for collar)
- Knitting Collar (stockinette stitch)
- Collar Bind Off (rib bind off)
Creating the Collar Finishing the Neckband and Buttonholes
- Buttonhole Creation
- Mock Ribbing for Neckband
Finishing the Neckband and Buttonholes
Read more: Knitting a Reversible Basketweave Blanket: A Customizable Guide
Tips
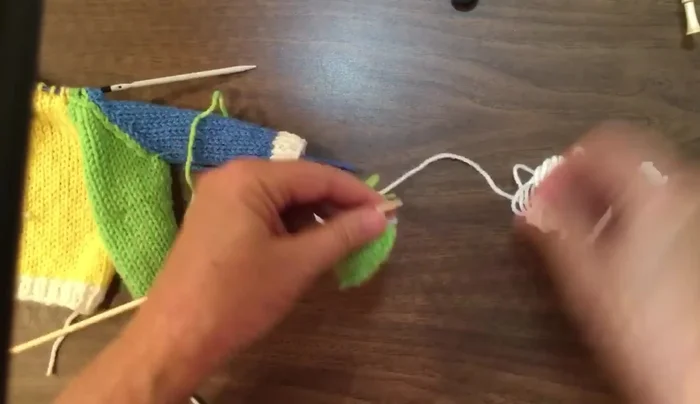
- Use long yarn tails (2-3 inches) for sewing seams, allowing for all sewing in one go
- Sew through horizontal bars for a neater seam
- Ease seams slightly after pulling them tight to avoid puckering
- If off by a stitch during sewing, sew through two stitches to maintain evenness and prevent puckering
- Use a long tail when finishing sleeves to make sewing easier