Step into the vibrant world of 80s-inspired fashion with these easy-to-make Angorita leg warmers! Channel your inner Paulina Rubio with this quick knit tutorial, perfect for adding a touch of playful retro flair to any outfit. Forget complicated patterns and endless hours of knitting – this project is designed for beginners and seasoned knitters alike, promising a satisfyingly speedy creation. Imagine the cozy warmth and stylish edge these leg warmers will bring to your wardrobe, from casual weekend looks to nights out on the town. The soft, fluffy Angorita yarn adds a luxurious touch that's both comfortable and undeniably chic.
Ready to transform a simple ball of yarn into a statement piece? This step-by-step guide will walk you through the entire process, from casting on to the final bind off, ensuring you create a perfect pair of Paulina Rubio-inspired leg warmers in no time at all. Let's get started!
Preparation and Safety Guidelines
- 200 grams Angorita yarn
- Number 3.5 needles
- needle
- embroidery needle
- Always use sharp scissors to cut yarn to prevent fraying and ensure clean edges for your leg warmers.
- Pay close attention to your gauge (stitches and rows per inch) to ensure your leg warmers fit correctly. A gauge swatch is highly recommended.
- If using metal needles, be mindful of sharp points to avoid accidental pricks. Consider using needle minders or cases when not actively knitting.
Step-by-Step Instructions
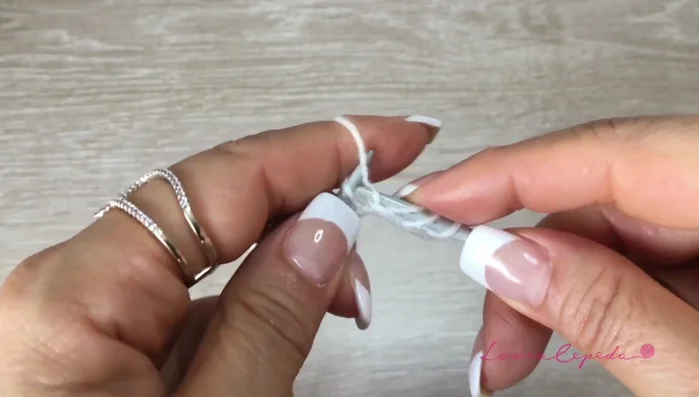
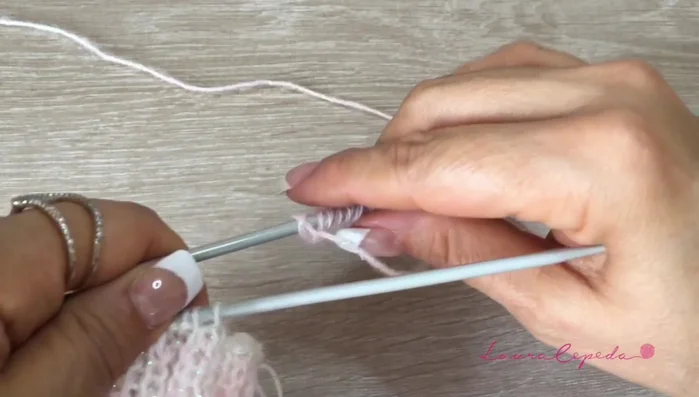
Cast On and Initial Elastic Band
- Cast on 46 stitches.
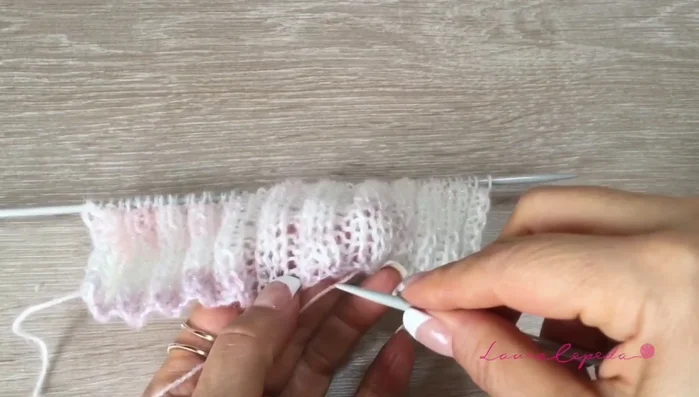
- Create an elastic band by knitting two, purling two, and repeating.
- Work in the elastic stitch for 16 rows.

Cast On and Initial Elastic Band Create Foot Section
- Bind off 10 stitches on each side.
- Continue knitting/purling in pattern until the foot section is complete.
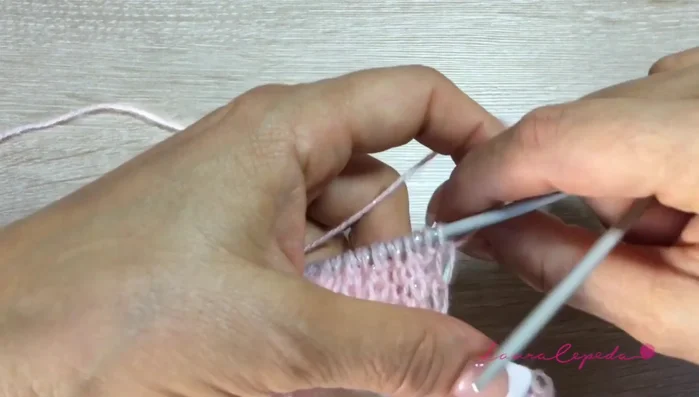
Create Foot Section Join Leg Section
- Cast on 17 stitches on a separate needle, and join them to the remaining stitches.
- Continue knitting/purling in pattern, adding 17 stitches on each side at the end of the foot section.
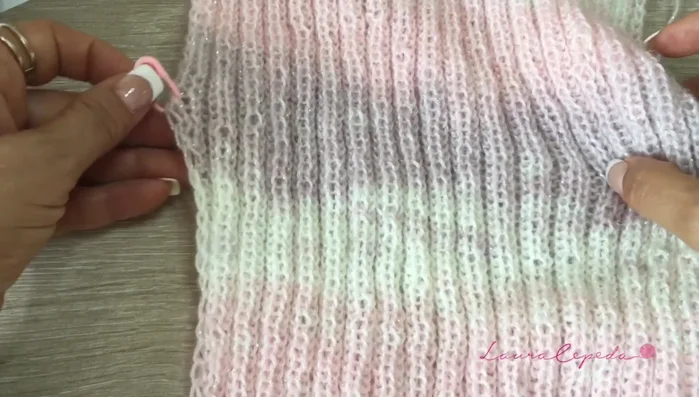
Join Leg Section Knit Leg Section and Increase
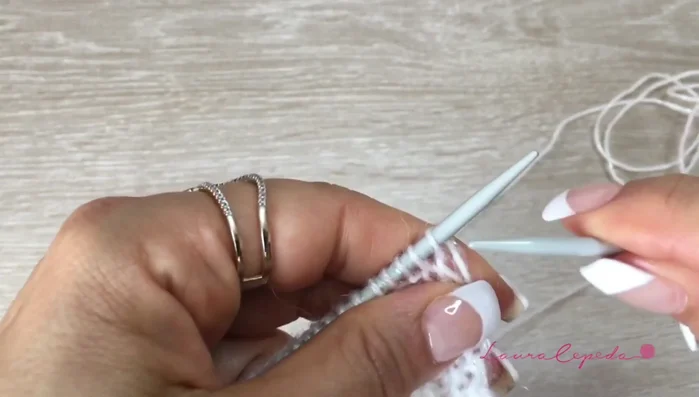
- Work in pattern until desired length is reached. Increase one stitch on each side every three rows by picking up the stitch below and knitting through it.
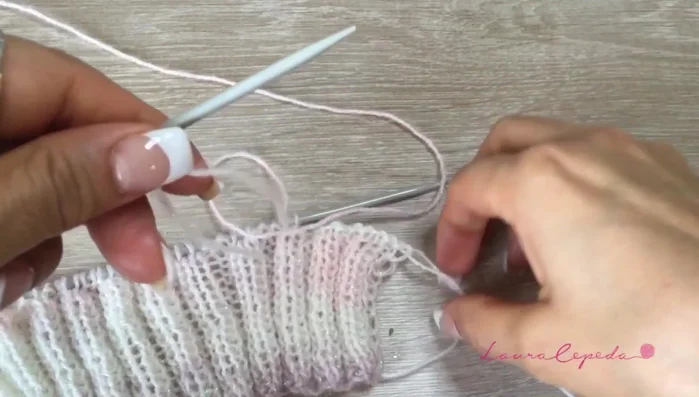
Knit Leg Section and Increase Bind Off and Seam
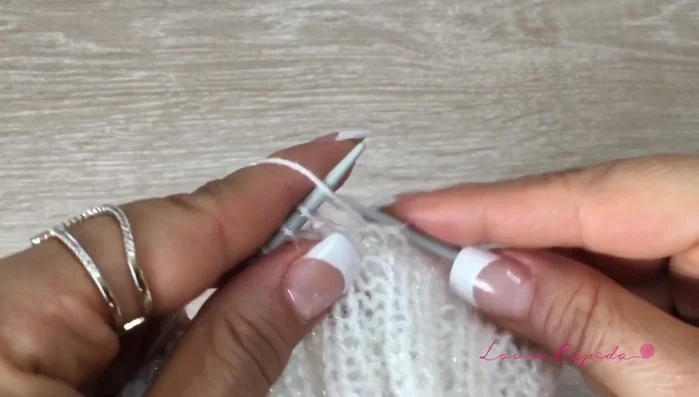
- Bind off all stitches, ensuring the pattern is maintained. Leave a long tail for seaming.
- Seam the leg warmer together using the long tail, creating a neat finish using an inside-out seam technique.
Bind Off and Seam

Read more: Knitting a Reversible Basketweave Blanket: A Customizable Guide
Tips
- Use a fine or lightweight yarn to avoid bulk.
- Pay close attention to increasing stitches consistently on both sides to maintain a symmetrical design.
- Carefully match and join both leg warmer sides to create a seamless fit.