Friendship bracelets are more than just accessories; they're tangible symbols of connection and shared experiences. For years, intricate patterns and vibrant threads have woven together bonds between friends, creating lasting memories. But what if you could personalize the experience even further? This article explores the versatile and surprisingly simple sliding square knot method, allowing you to create adjustable friendship bracelets that perfectly fit any wrist size. Forget about fixed lengths and frustrating redos – this technique opens a world of customization.
This method utilizes a clever knotting technique that creates a sliding mechanism, allowing the bracelet to expand and contract effortlessly. Ready to learn how to craft these adaptable and stylish keepsakes? Let’s dive into the step-by-step process and discover the magic of adjustable friendship bracelets with the sliding square knot.
Preparation and Safety Guidelines
- Friendship bracelet (partially made)
- Thread (approx. 40cm)
- Scissors
- Hypo Cement Jewelry Glue with Precision Tip
- Always use clean hands and keep your workspace tidy to prevent tangling and ensure the bracelet's longevity.
- Start with a longer length of thread than you think you'll need; it's easier to trim excess than add more.
- Take your time and be patient, especially when learning the sliding square knot. Practice makes perfect!
Step-by-Step Instructions
Prepare the Bracelet
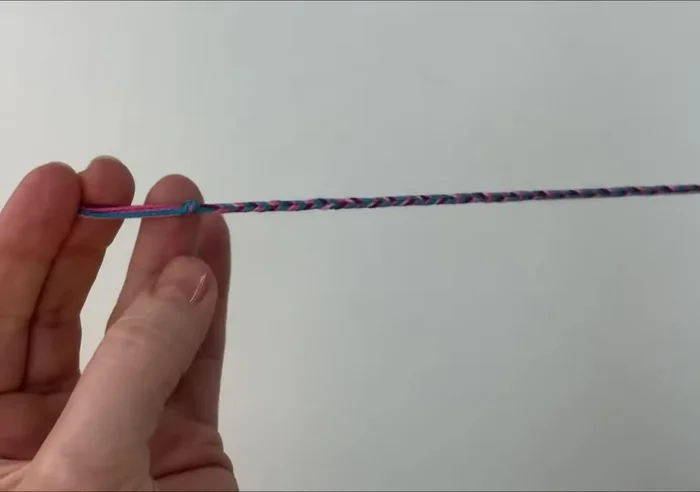
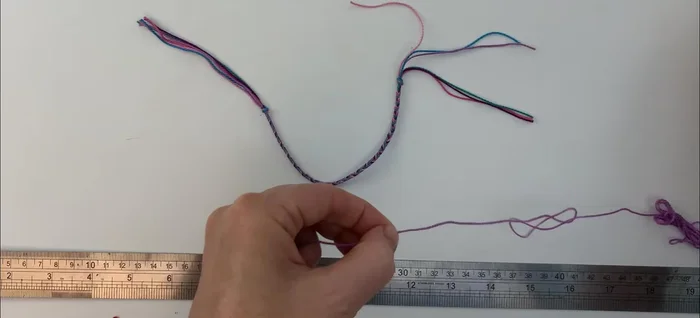
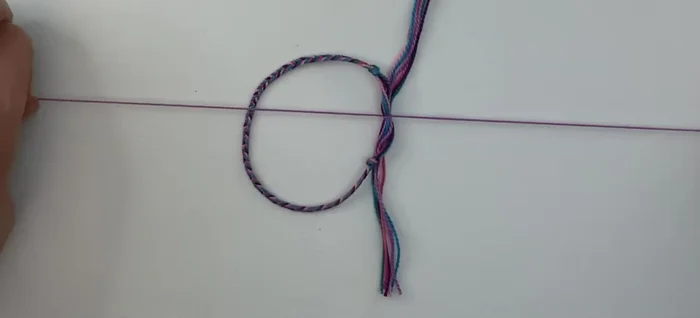
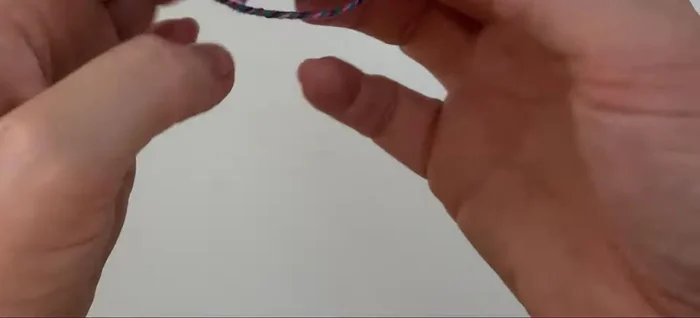
- Prepare your friendship bracelet. It should be about 16 centimeters long, braided in the middle with a knot at each end and approximately 10 centimeters of loose threads on either side.

Prepare the Bracelet Position the Sliding Knot Thread
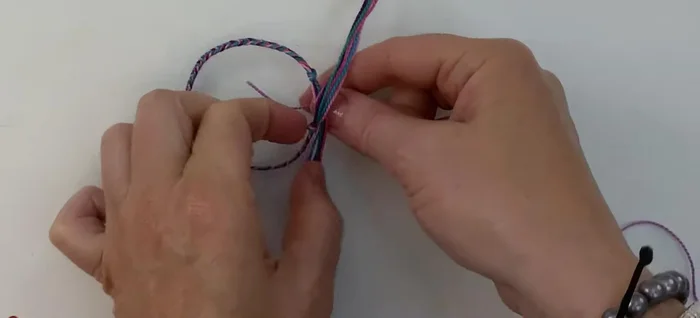
- Lay the bracelet with the loose threads overlapping, leaving a small gap between the knots. This gap will accommodate the sliding knot.
- Position your 40cm thread underneath the overlapping section of the bracelet, pulling it to the middle.
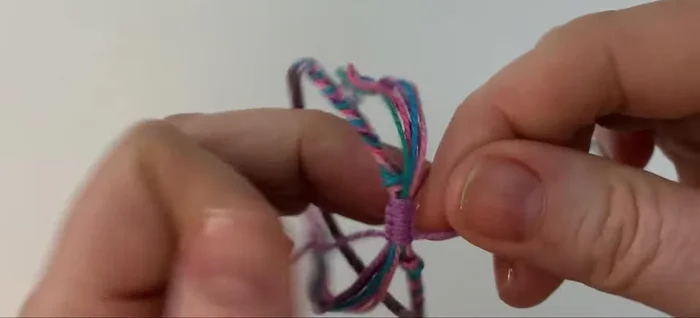
Position the Sliding Knot Thread Tie the Sliding Square Knot
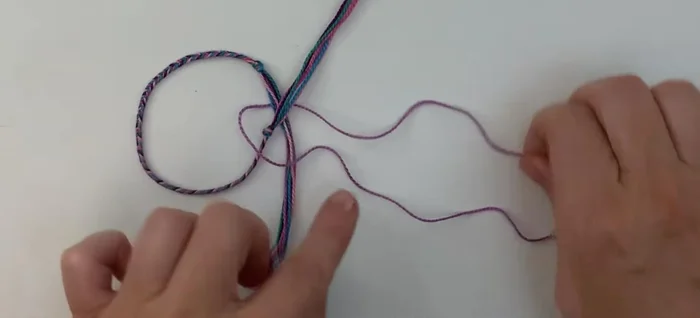
- Create a square knot. Start by bringing the left cord over the top, forming a small loop. Then, bring the right cord down over the left cord, under, and up through the loop on the left.
- Continue the square knot by alternating sides. Bring the right cord over and form a loop. Then bring the left cord down, under, and up through the loop on the right. Repeat this process, alternating left and right, until you reach your desired knot length (about 10 stitches is suggested).
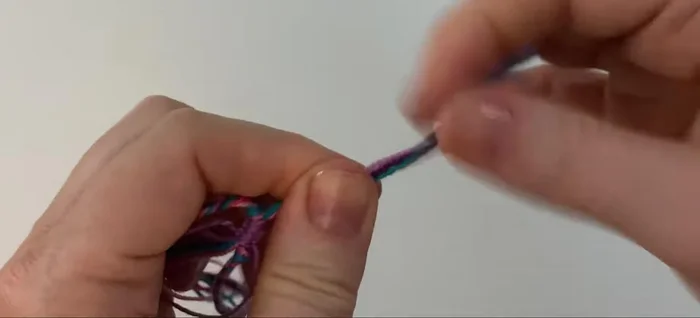
Tie the Sliding Square Knot Secure the Knot
- Pull all cords tight, ensuring no slack.
- Tie a simple overhand knot at the end of each bunch of threads and trim the excess.
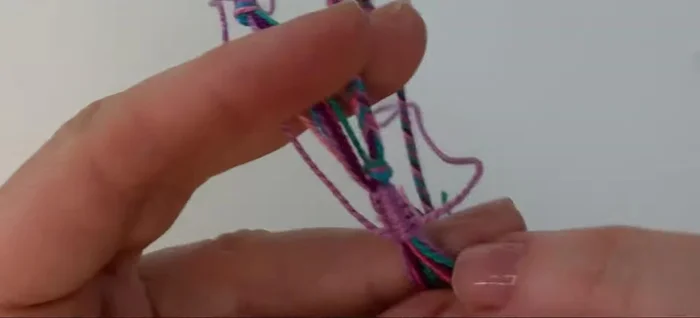
Secure the Knot Finish and Dry
- Secure the remaining threads of the square knot with hypo cement jewelry glue. Apply carefully around the last stitch on both sides, ensuring you don't glue the sliding knot to the bracelet itself.
- Allow the glue to dry for several hours before wearing.
Finish and Dry
Read more: DIY Tiered Tassel Earrings: A Quick & Easy Jewelry Tutorial
Tips
- To keep track of which stitch to do next in the square knot, look for the vertical part of the previous stitch. If it's on the left, you do the left side stitch next. If it's on the right, you do the right side stitch next.
- Don't use too much glue when securing the square knot, otherwise it may stick to the bracelet and prevent the sliding knot from moving freely.