Headbands are a fantastic accessory – stylish, practical, and surprisingly easy to make yourself! This tutorial will guide you through creating a beautiful and durable five-strand braided headband, perfect for adding a touch of handmade charm to any outfit. Whether you're a seasoned crafter or a complete beginner, this project is accessible and rewarding, promising a delightful sense of accomplishment once finished. Forget expensive store-bought headbands; you'll be amazed at how simple it is to craft your own unique design, choosing your favorite colors and textures to perfectly complement your style.
Learning to braid five strands might seem daunting at first, but with our clear, step-by-step instructions and helpful visuals, you'll be mastering this technique in no time. This tutorial breaks down the process into easily manageable stages, making it ideal even for those with limited braiding experience. Ready to get started on your DIY headband adventure? Let's dive into the step-by-step instructions and create your very own stunning 5-strand braided masterpiece!
Preparation and Safety Guidelines
- Acrylic yarn (medium weight 4)
- Cutting board (or flat surface)
- Crochet hook (6mm)
- 5 pins
- Scissors
- Tapestry needle
- Use sharp scissors carefully to avoid cuts. Keep scissors away from your face and eyes when cutting.
- Be mindful of hair pulling. Gently work with your hair to avoid discomfort or damage. Take breaks if needed.
- Ensure your chosen elastic is strong enough to hold the braid securely. Test its strength before fully completing the headband.
Step-by-Step Instructions
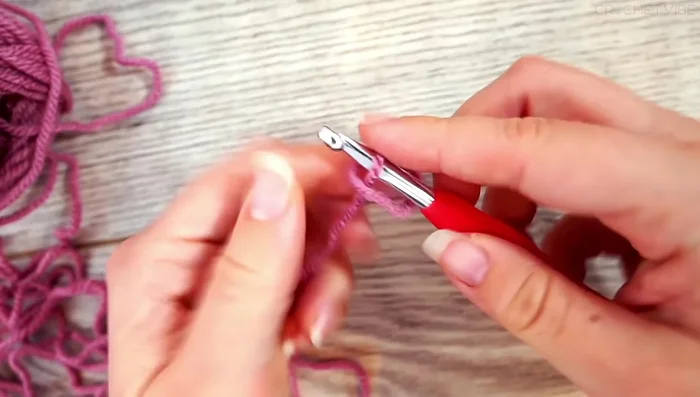
Create the Foundation
- Make a slipknot and create a foundation chain of 72 chains.

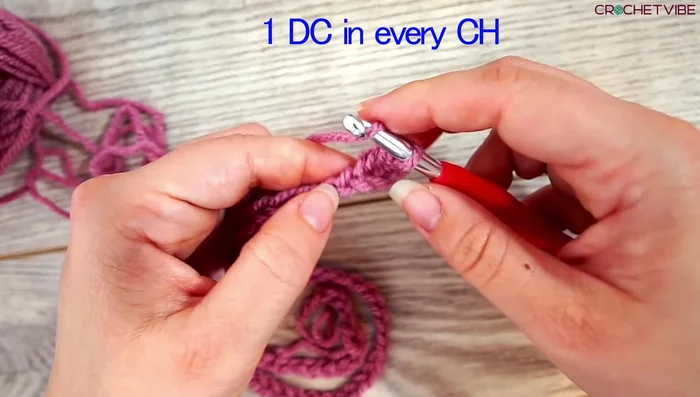
Create the Foundation Double Crochet Rows
- Work the first row with double crochet stitches in the third chain from the hook.
- Continue double crocheting across the entire row. Leave a long tail at the beginning and end of the row, and weave in the ends.
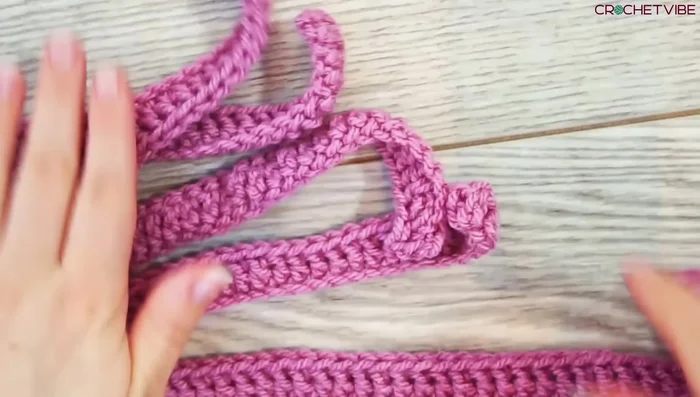
- Repeat steps 2 & 3 to create 5 identical rows. Weave in the ends of all rows.
Double Crochet Rows Prepare for Braiding
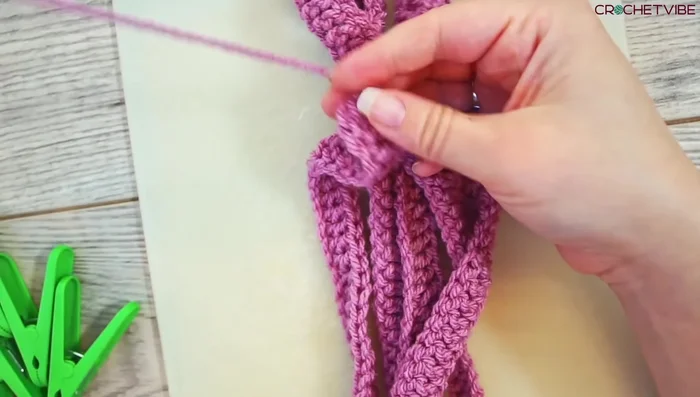
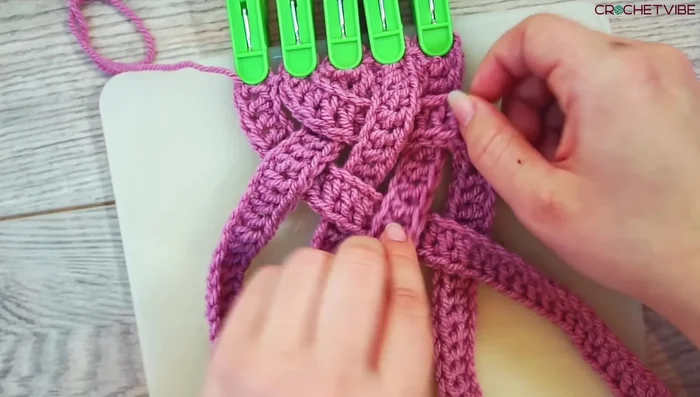
- Lay the 5 strands beside each other, secure them with a tapestry needle and thread, and pin them to your cutting board.
Prepare for Braiding Braiding the Headband
- Begin braiding the 5 strands. The technique involves consistently alternating over-under patterns.
- Continue braiding, keeping the strands taut and neat. The braiding pattern will be consistent once started.
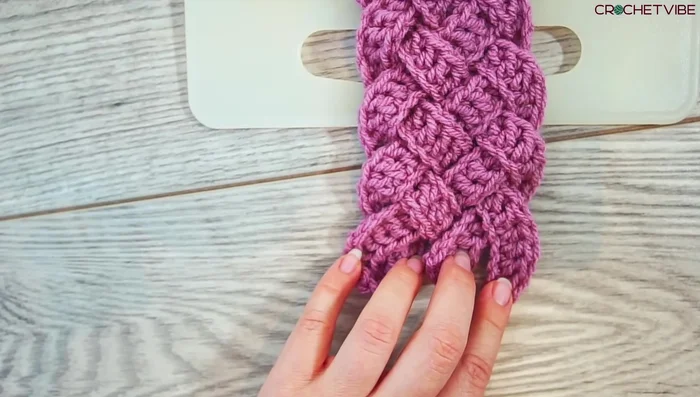
Braiding the Headband Finishing Touches
- Once braiding is complete, use a tapestry needle to secure the ends. Weave the ends through the braid to prevent unraveling.
- Sew the two ends of the braid together using a tapestry needle. Make sure to go through every strand several times to secure the seam.
Finishing Touches


Read more: Easy Color Block Crochet Blanket Tutorial for Beginners
Tips
- Go slowly and carefully during the braiding process to ensure a neat and even result.
- Use a flat surface like a cutting board or clipboard to hold the yarn securely during braiding.
- Weaving in the ends securely at the beginning and end prevents unraveling later on.