Add a touch of whimsical charm to your next crochet project with this easy-to-follow tutorial on creating a stunning 3D flower border edging. This delightful edging, composed of delicate, dimensional blossoms, is perfect for enhancing blankets, shawls, or even adding a unique flair to clothing. Forget complicated patterns and intricate stitches; this design prioritizes simplicity and elegance, making it ideal for both beginners and experienced crocheters seeking a beautiful, yet achievable embellishment. The charming three-dimensional flowers will add a touch of sophistication to any edge.
Imagine the delightful possibilities – a baby blanket blooming with cheerful flowers, a sophisticated shawl adorned with a romantic floral trim, or even a simple pillowcase transformed into a work of art. This tutorial provides clear instructions and helpful photos to guide you through each step of the process, ensuring a successful and satisfying outcome. Let's get started on creating your own beautiful 3D flower border edging!
Preparation and Safety Guidelines
- yarn
- crochet hook
- Use sharp scissors to cut your yarn. Dull scissors can cause fraying and make it harder to achieve a clean finish on your flower petals and edging.
- Pay close attention to your stitch counts throughout the process. Accurate stitch counts are crucial for creating evenly sized flowers and a neat border.
- Always secure your yarn ends firmly to prevent unraveling. Weaving in ends is recommended, especially in areas with significant tension like the flower centers.
Step-by-Step Instructions
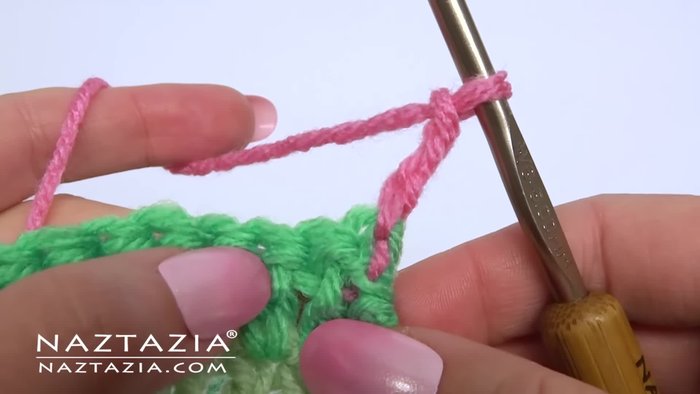
Foundation Chain and Initial Double Crochets
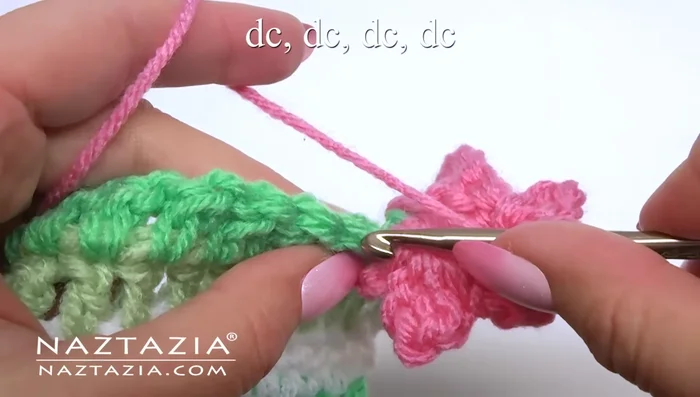
- Chain three, then make one double crochet in the next three stitches.
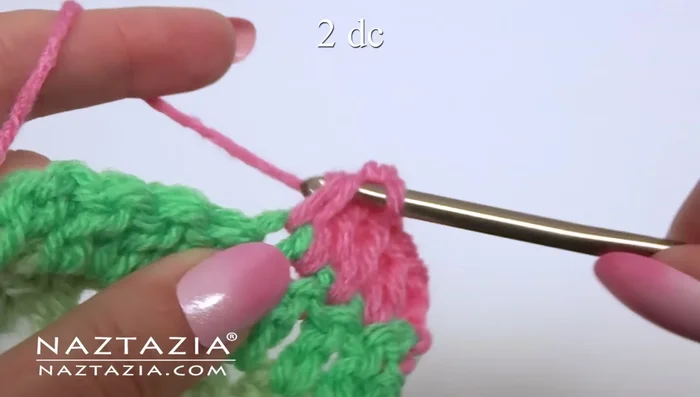
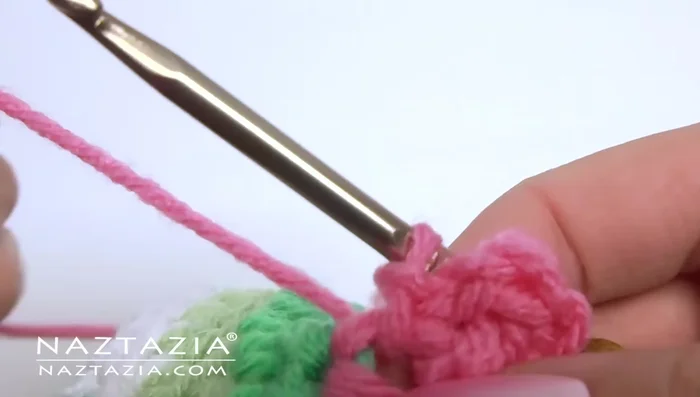
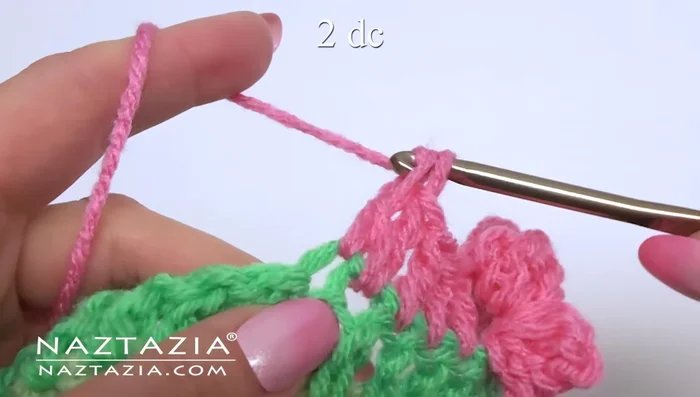
- In the next stitch, make two double crochet stitches all in the same space (forming a ring).

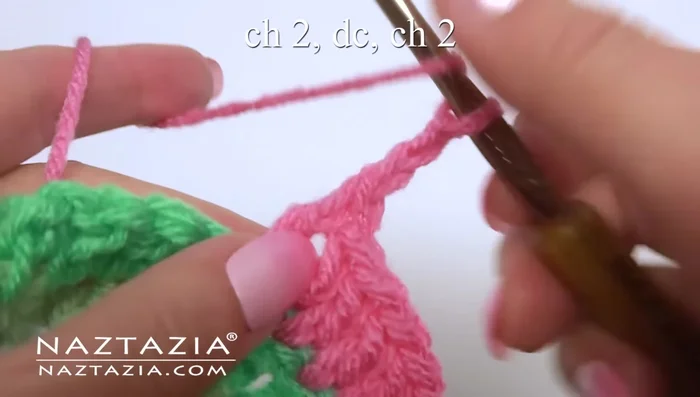
Foundation Chain and Initial Double Crochets Create the First Flower Petal
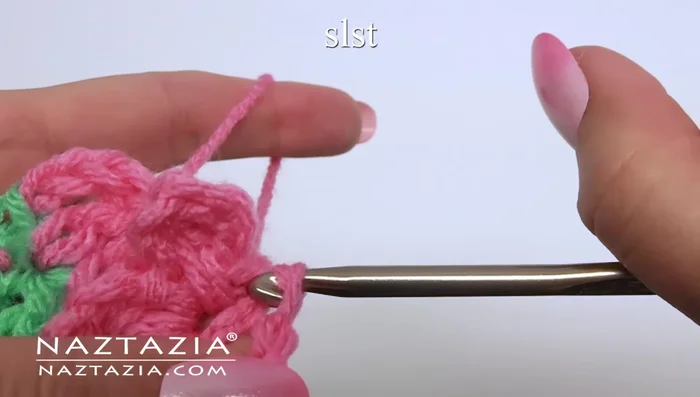
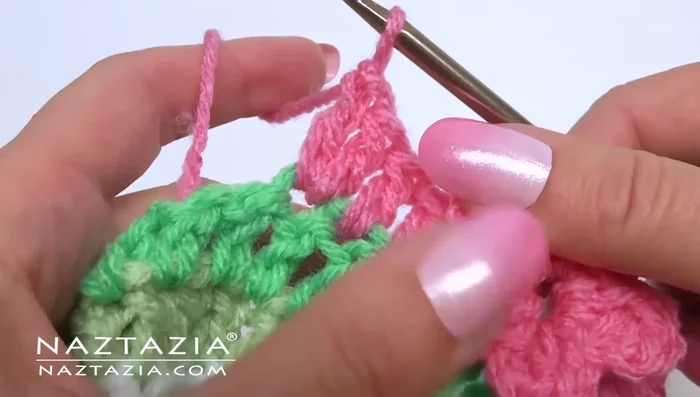
- Chain two, then double crochet in the stitch ring. Chain two, and slip stitch (first petal).
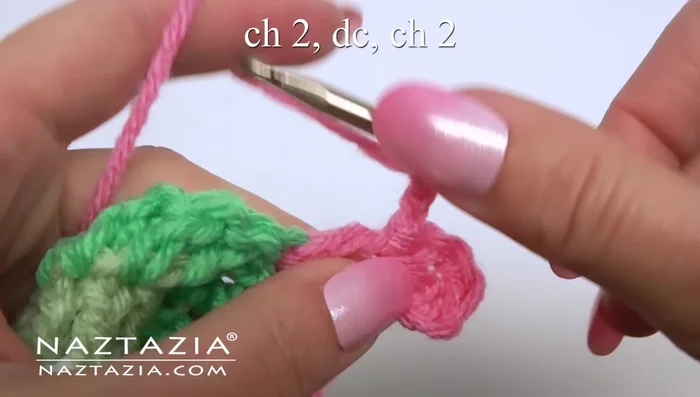
Create the First Flower Petal Create the Second Flower Petal
- Chain two, double crochet, chain two, and slip stitch (second petal).
Create the Second Flower Petal Create the Third and Fourth Petals
- Rotate your work, and make another petal on the other side of the original v-stitch.
- Make a fourth petal and slip stitch.
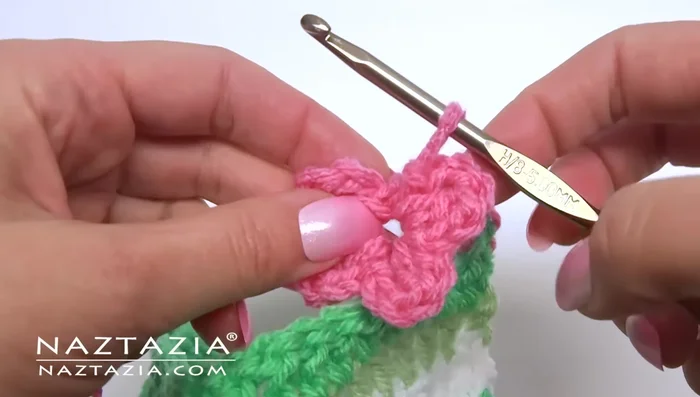
Create the Third and Fourth Petals Create the Fifth Petal and Secure the Flower
- chain two, double crochet, chain two, and slip stitch.
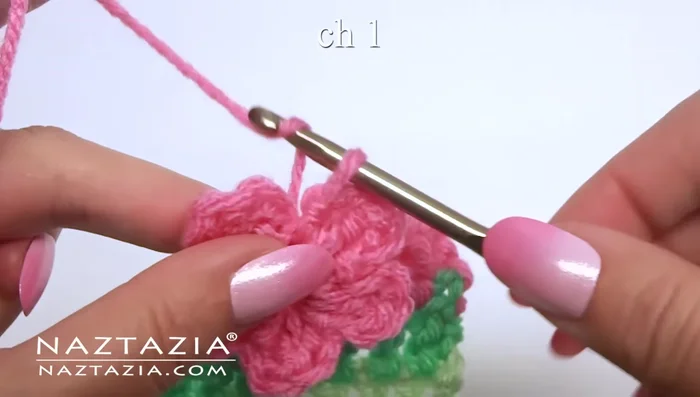
- Chain one to hold the flower securely.
Create the Fifth Petal and Secure the Flower Connecting Stitches Before the Next Flower
- In the next four stitches, make one double crochet in each.
- In the next stitch, make two double crochet stitches all in the same space.
Connecting Stitches Before the Next Flower Repeat Flower Pattern
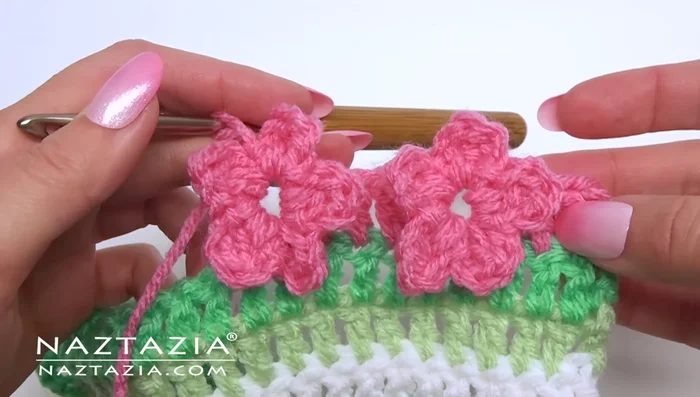
- Repeat the flower-making process from step 3 onwards to create another flower.
Repeat Flower Pattern Continuing the Border Across the Row
- Continue across the row using this pattern. After the chain one, make one double crochet in the next four stitches, then make the two double crochet v-stitch in the next stitch, and proceed with another flower.
Continuing the Border Across the Row Creating a Blanket Border
- For a blanket border, put two double crochet stitches in each corner and make a flower in each corner. Then, proceed with the pattern across each side.
Creating a Blanket Border
Read more: Easy Color Block Crochet Blanket Tutorial for Beginners
Tips
- This stitch is a multiple of five plus four.
- The two double crochet v-stitches are crucial for creating the flower's base.
- Pay attention to rotating your work to create the petals around the flower.